

One display item I always enjoyed when I was a kid were driveway lights made from putting ice-cream buckets over C9 bulbs. This is something I had been thinking of doing for some time, when contemplating the new items I wanted to add I realized I could build a modern RGB version of this in a similar manner to how I built my North Poles last year.

I thought I could build an internal frame to hold the bucket in place, as well as hold the lights and controller, from PVC pipe. The bucket lights from my youth we based on 4L ice-cream pails from the grocery store, naturally I wanted something bigger. Luckily, we had a hot summer which meant several trips to the local ice-cream store, here I noticed they were selling the empty pails for $0.50, I’ll take 8 of those thank you. These commercial buckets are almost 3x as (11.4L) large as the grocery store variety so were perfect for me.
The first thing to do was to get the label off the buckets, I did a bit of internet research and settled on filling the bucket with hot water then letting it sit for 15 mins. After sitting the label easily peeled in one piece (on some buckets). Next was to get rid of the excess glue from the label; spraying the glue with WD-40, letting it sit for 5 mins, then glues easily wiped off with a cloth. Getting the glue off is critical otherwise all the dust and grime from outside will be sticking to the lights and will make them look gross.
Bucket 
filled with water to soften glue 
Clean Bucket
Once I had that done a little measuring to figure out the size of the pipe for the frame. The design for the frame was simple, a double T to help hold the buckets in place and hold the lights and controller this would all sit over a 30 cm rebar to hold it on the ground.

PVC Pipe Frame 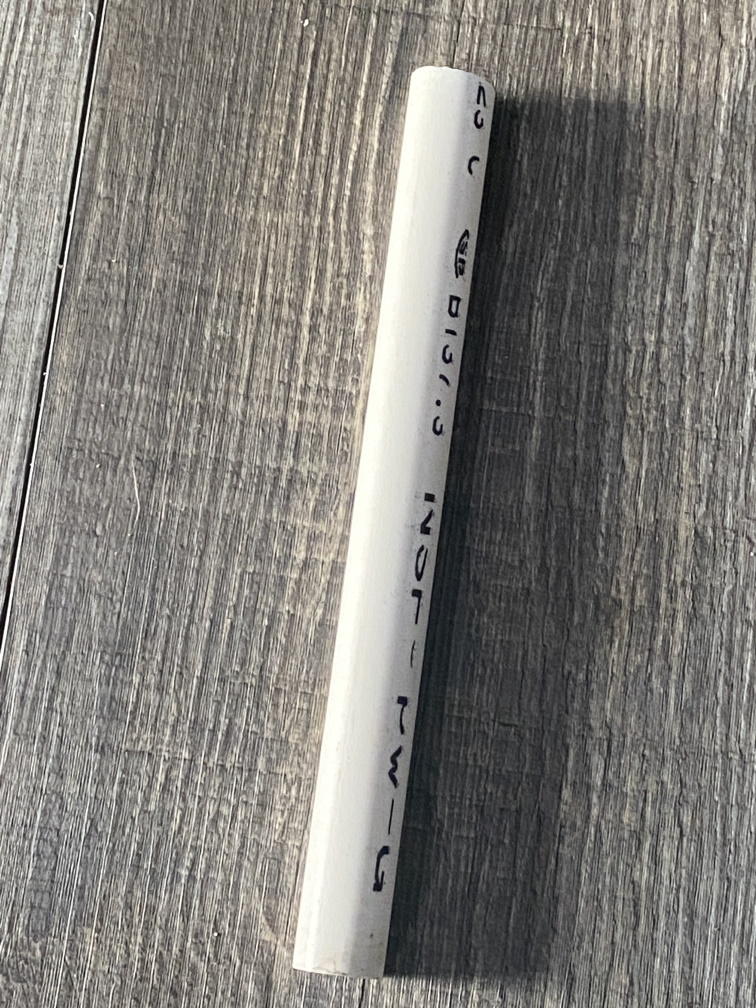
220mm Upright 
Upper T Joint 
2x90mm top supports 
Lower + Joint 
2x100mm lower supports

Cutting the frame parts 
Frames assembled
After test fitting it all it was time to add some electronics and lights. I decided to use the same Holiday Coro Dumb controller and Rectangle RGB lights that I used in my north poles. I chose to use 8 modules vs. the 4 that are in the north poles due to the larger size of the buckets and because they may be covered in snow.
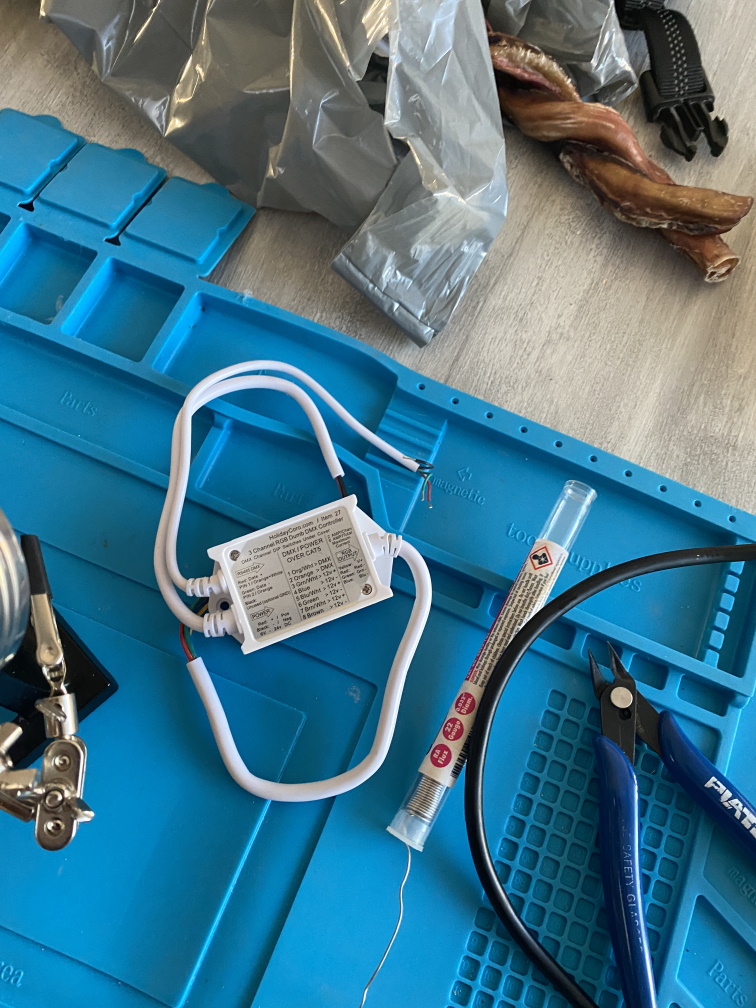
RGB Controller 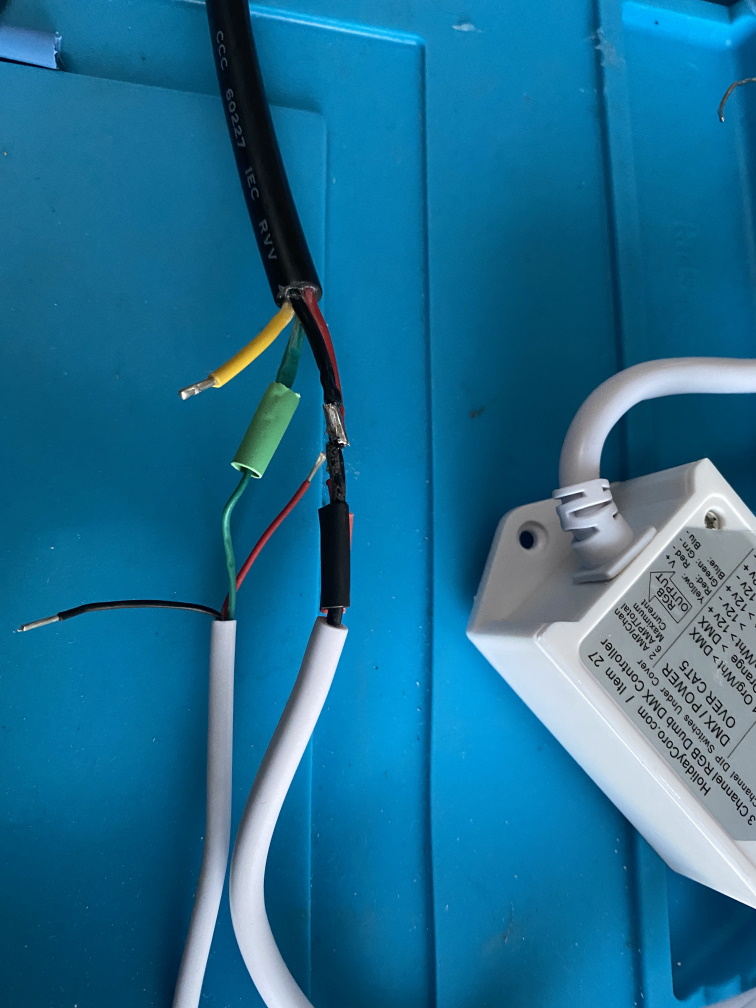
Power and DMX Input 
Connecting an easy plug for the DMX and Power Input 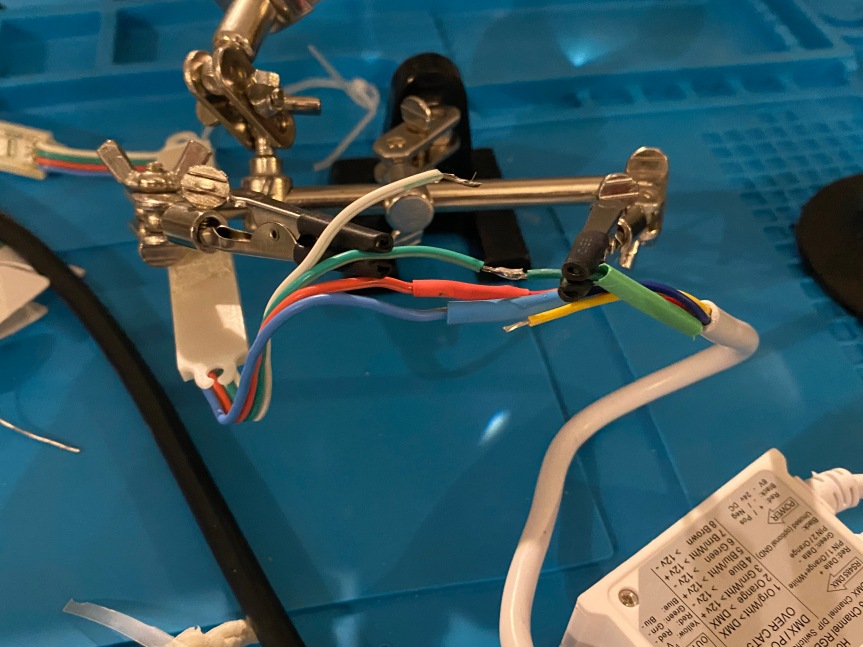
Connecting the light modules 
A complete lighting unit: easy plug 4, Controller and light Modules 
Bringing the lighting unit and frame together 
Complete Light Unit 
Light Unit in Bucket

Testing the lights
After getting a few of these built I am happy with the results when testing and I look forward to seeing them in the display. They ended up being an economical prop at around $25 per bucket light (if I ignore shipping & import costs on the modules and controller :).
Parts List
PVC Tube:
1 X 300mm (1′) rebar
1 X 11.7 litre ice cream bucket
8 X Dumb RGB Modules
I will be writing another post shortly on building the matrix panels for the house.

Are you using 1 dumb controller for the 3 buckets (3 channels)? Also, what are you using for a power supply?
LikeLike
One Controller per bucket so I can control the colour of each individual bucket. I used the Holiday Coro 400W rainproof Power supply: https://www.holidaycoro.com/Rainproof-400w-Power-Supply-p/48.htm .This has 3 outputs of 11 Amps each. the 4 bucket lights were running of one of the outputs and with 8 of the Dumb RGB nodes in each bucket max draw about 0.5A per Bucket.
You can see an image of the final power supply here: https://chasinrudolph.files.wordpress.com/2021/11/20211117_060639224_ios.jpg?w=2000&h=
This has the power supply with 3 outputs (using easy connector 4’s from holiday coro) and one waterproof RJ45 input that takes in the DMX signal and passes it to each output.
LikeLike