

Last weekend (Canadian Thanksgiving) marks the transition from build activities to installing the lights. That doesn’t mean I don’t still have things to build but I do need to start putting up lights to keep to my install schedule. A few weeks ago it felt like I had lots of time to do all the things I needed to but now time is feeling short.
I have gotten a large amount of the build work done, which included prototyping my ideas then building them out. I did this for the bucket lights and also for the Matrix Panels that will go on the house, although I do still need to glue the frames and insert the pixels that just arrived last week. I also got all of the mounting clips installed on the house for the panels which took a little more work and time than expected. Once I got a masonry drill bit this went much faster (right tool for the job moment here). I got all the toppers (8) for the new north poles and build new polyethylene supports for all the poles (12). The only thing left to do is cut and stripe the 4 new poles which I would like to do while it is still warm so the red tape sticks well. I also got the frames for the arches built but still need to cut and solder the strip lights, again these only arrived this week due to my miscalculations in my initial order. I had ordered two 5M strips but ended up using them around the garage so had to order more for the arches. I also built one of the 2 power supplies I need to run the north poles and the bucket lights. Because I built new power supplies and used HolidayCoro easy plug 3’s I will need to replace the ends on the North Poles from last season.
The install traditionally kicks off with the turn around of my garage from summer mode to winter mode. This involves storing the car, putting away the bikes and scooters and moving the lights from the back of the garage to the front to be more accessible. This year I have the additional task of putting the hard top (which is currently taking up a large amount of space in the garage) on my jeep. I started the garage turn around on Friday night to get a head start as the kids had 10 ice times with 4 out of town between Friday and Monday, so I needed to optimize my time. The garage was a big mess so took a little more time than usual, I also moved from Jack stands to dolly’s for the car so I could get it closer to the wall and finally had an old TV which had been sitting in the garage all summer to mount on the wall. It was late Saturday afternoon before I got the garage finished.
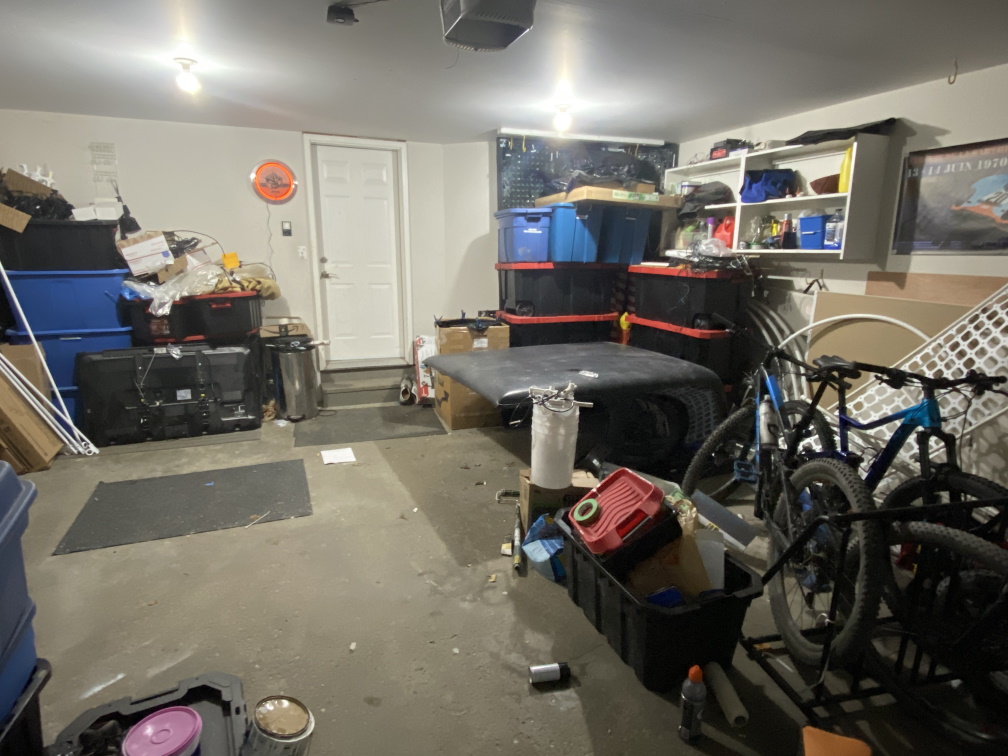
Before 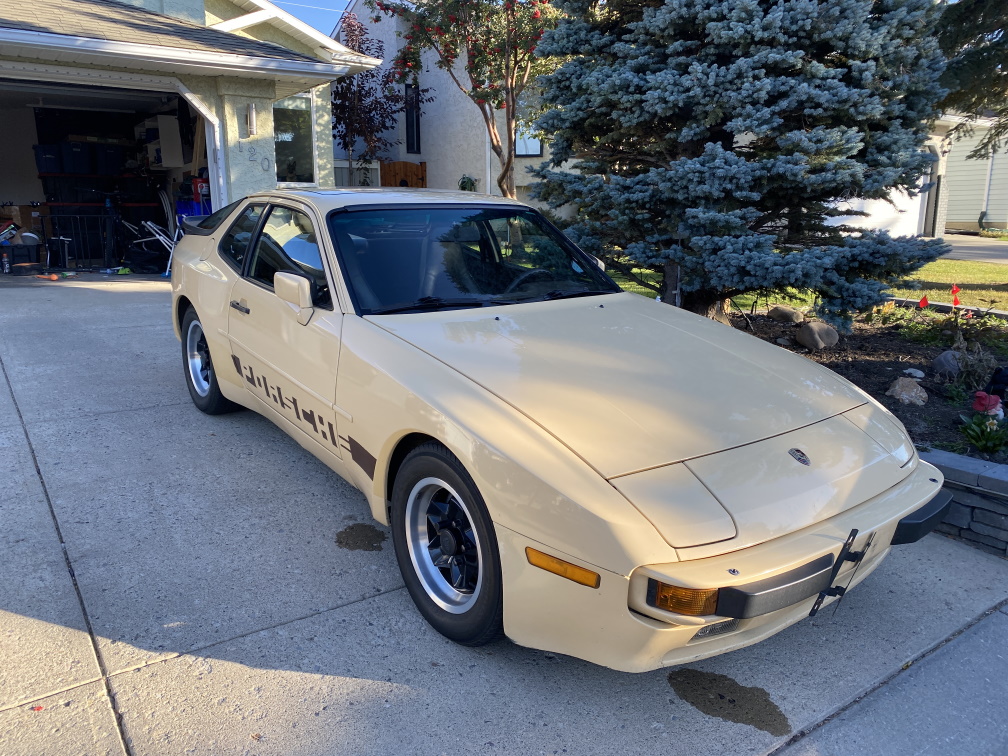
Wash the Car 
New Dollies 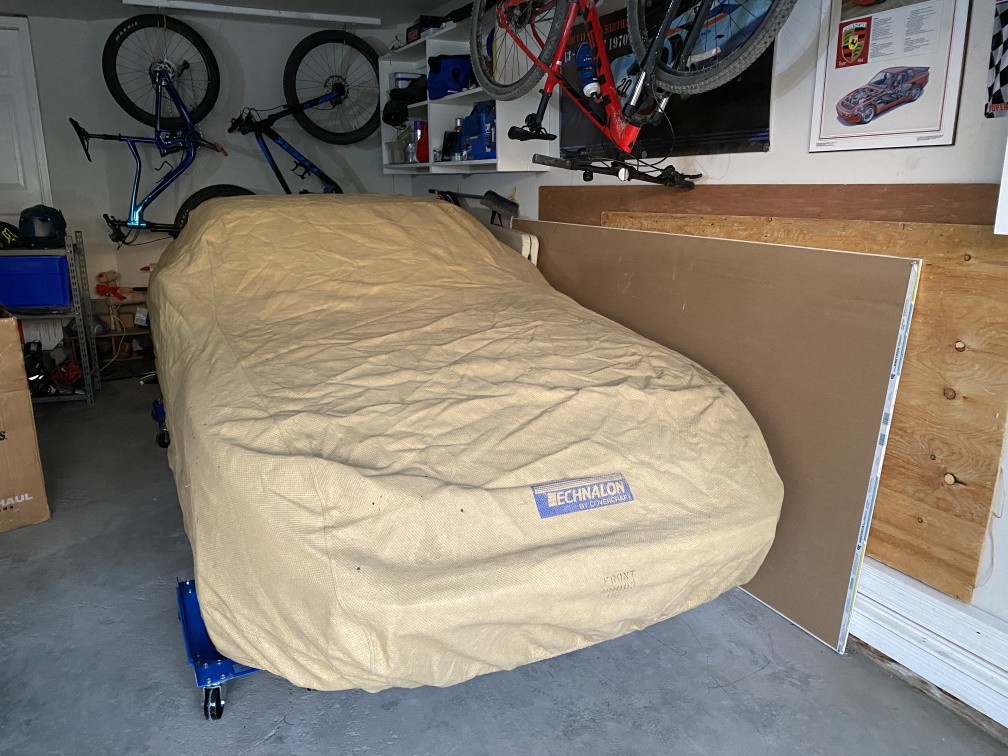
Cover it up 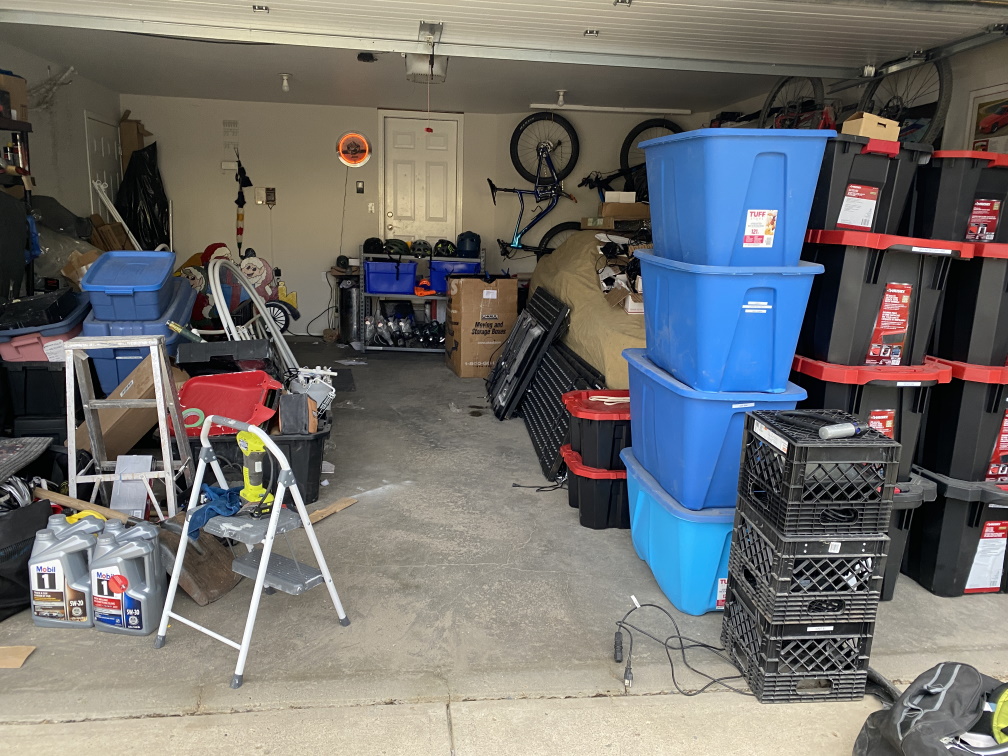
Hide it away, 1/2 done 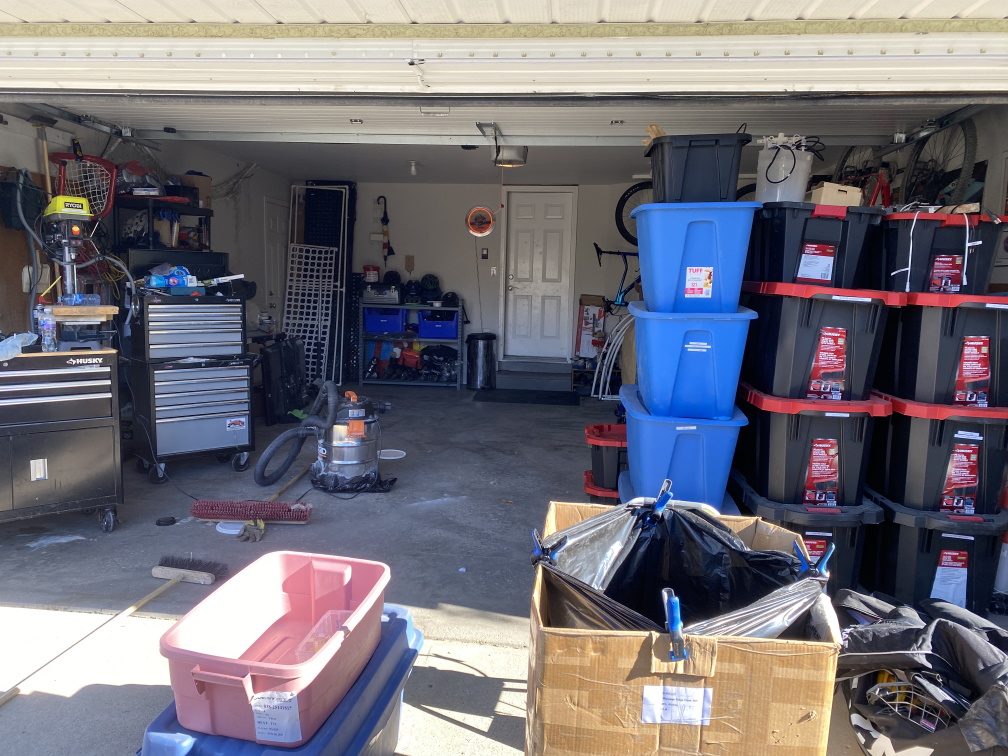
Now for the other side 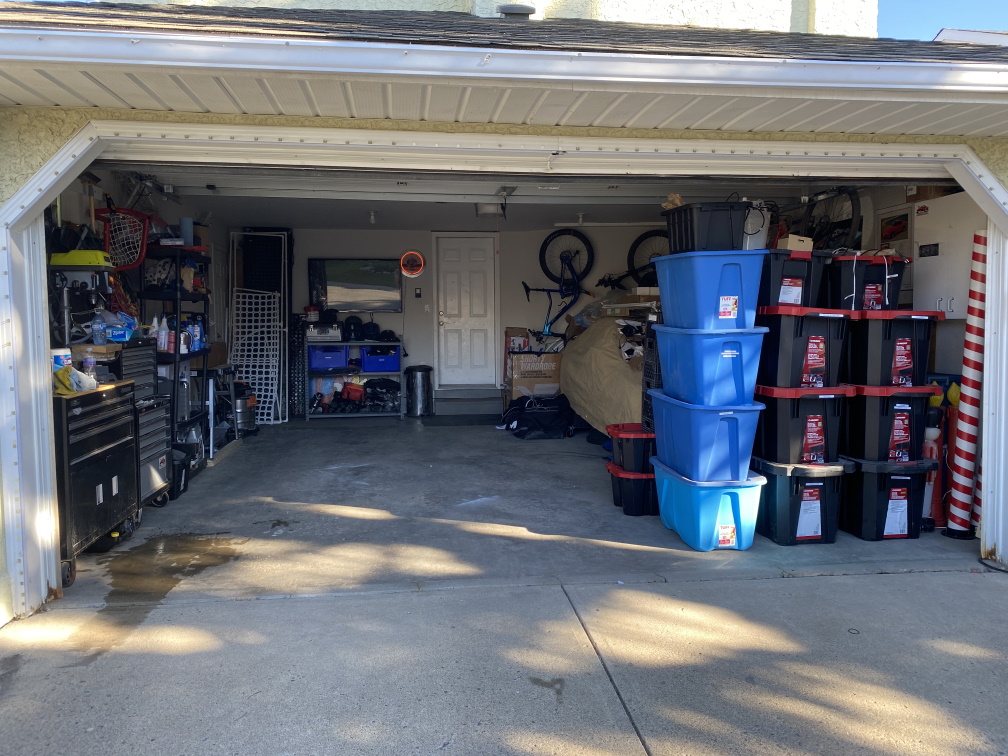
All Done
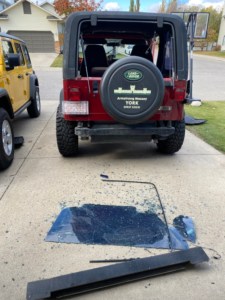
Sunday stated out at the rink, by the time we got home it had started to snow and was way too windy to be up on the roof so no lights that day, I was also really cold from the rink and couldn’t warm up so my motivation was petty low to do anything more than clean up some sequences. Thanksgiving Monday I was motivated, I got up early and installed new seals on the Jeep hard top before putting it on, I also replaces the cowl to windshield seal once I had all soft top hardware removed. This was exciting, once I had all the seals replaced it was time to put on the roof. This is when things went a little sideways, when lifting on the roof we dropped it and shattered the rear glass. Now what to do, put some plastic over the rear window or re-install the soft top. I decided on re-installing the soft top, this with cleaning up the driveway added a couple of extra hours to my project. When I was done, it had started to snow so no lights installed again, so I decided to replace on the door seals for the jeep which I had sitting around since June. First weekend of the install and I had installed 0 lights.
This weekend would be different, the kids schedule was much more manageable, the weather forecast also looked favorable to be able to get out on the roof. Saturday lunch time and I was finally ready to get going. Before I started to install anything I had a couple of tasks I needed to complete; replace all the broken clips on the house and add some bolts to mount the controller for the house Matrix panels. I’d been smart and made a trip to Home Depot the night before to make sure I had the right sized masonry drill bit for the hangar bolts I was using. Final task was to test fit the matrix panels, make any adjustments for a solid install and know left and right as well as front and back before I glue them together.
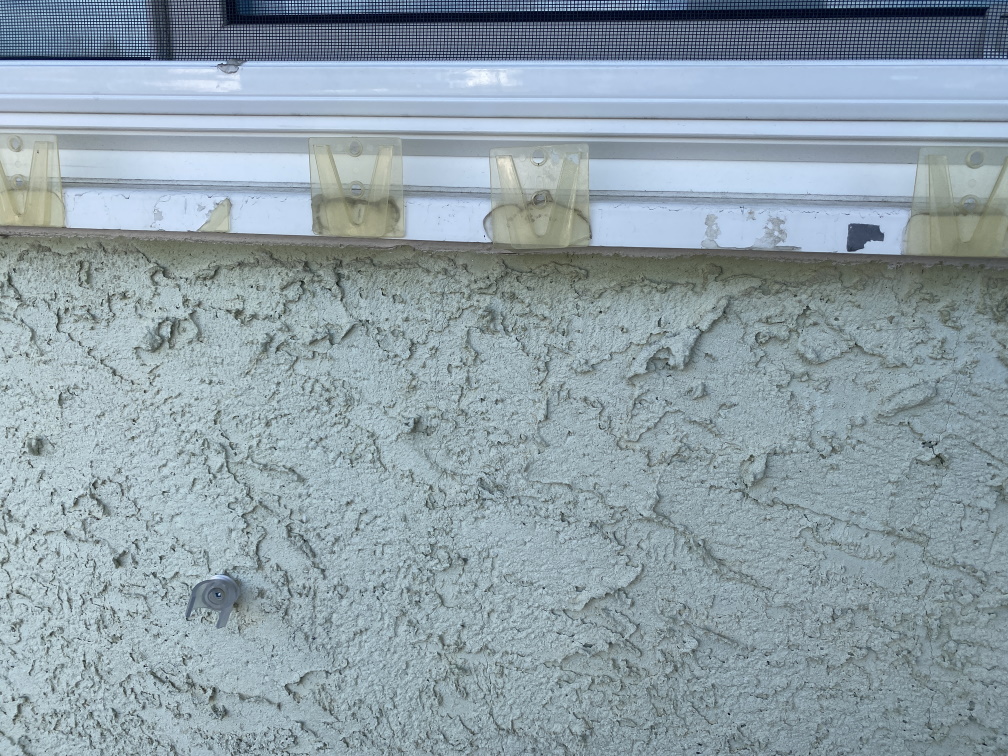
Missing Clips around the window 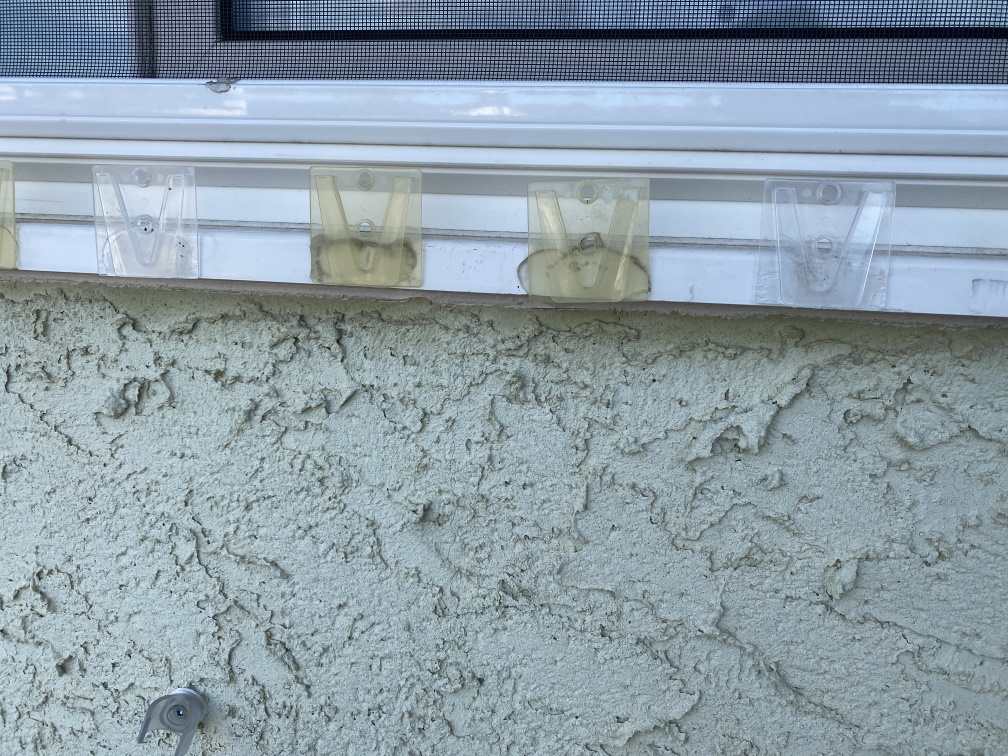
Clips replaced 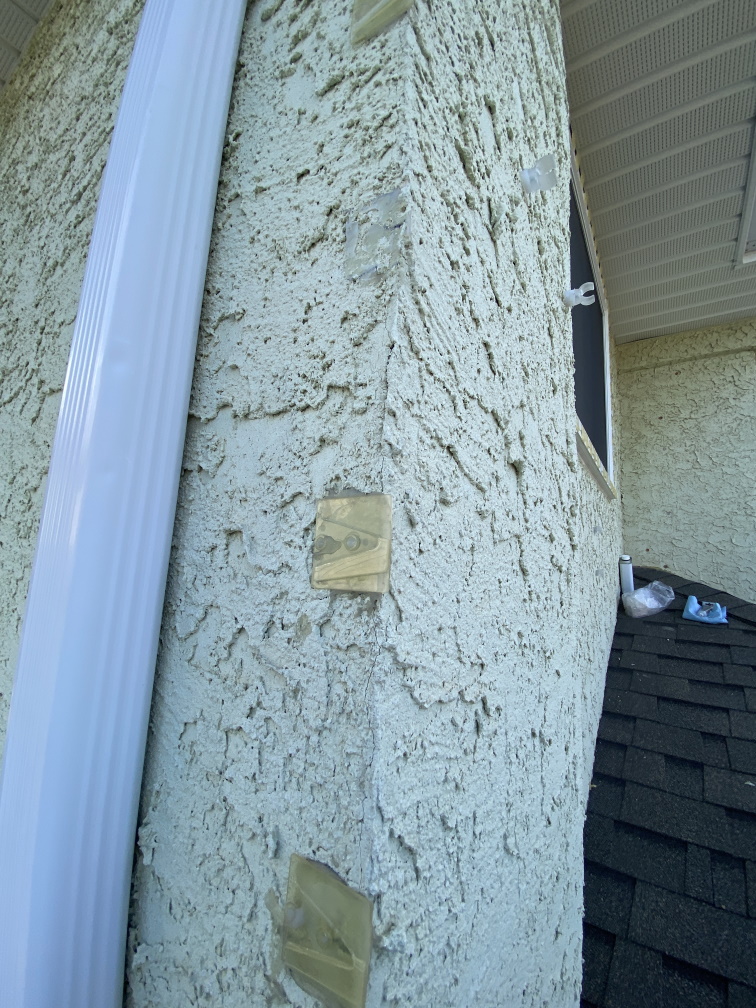
Missing clips on side of house 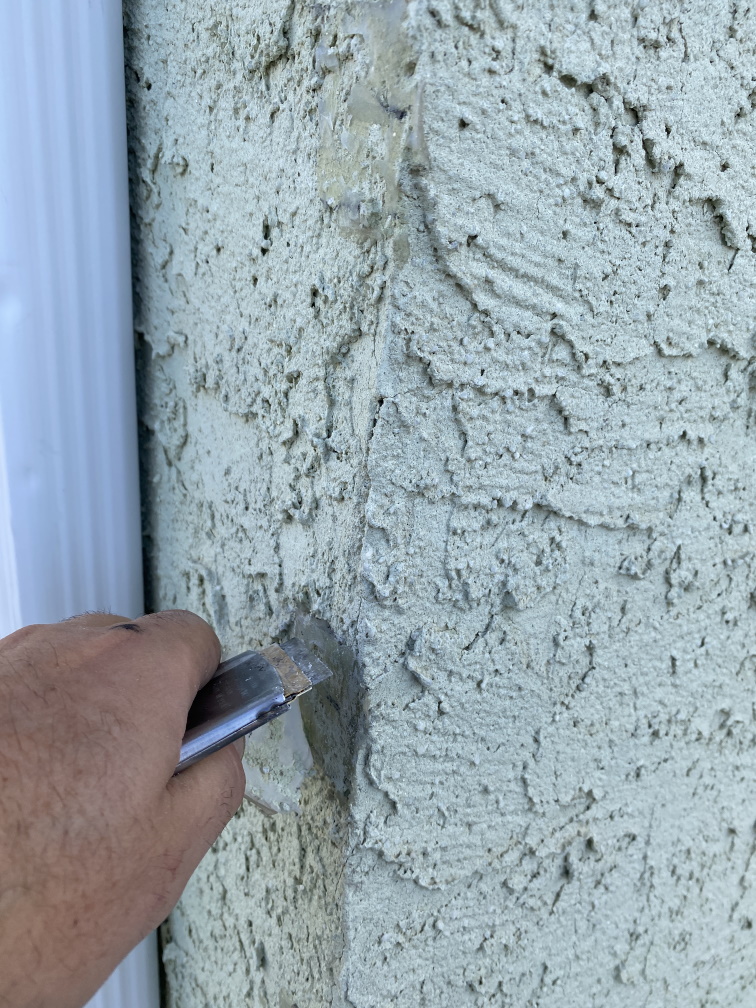
scraping away the glue 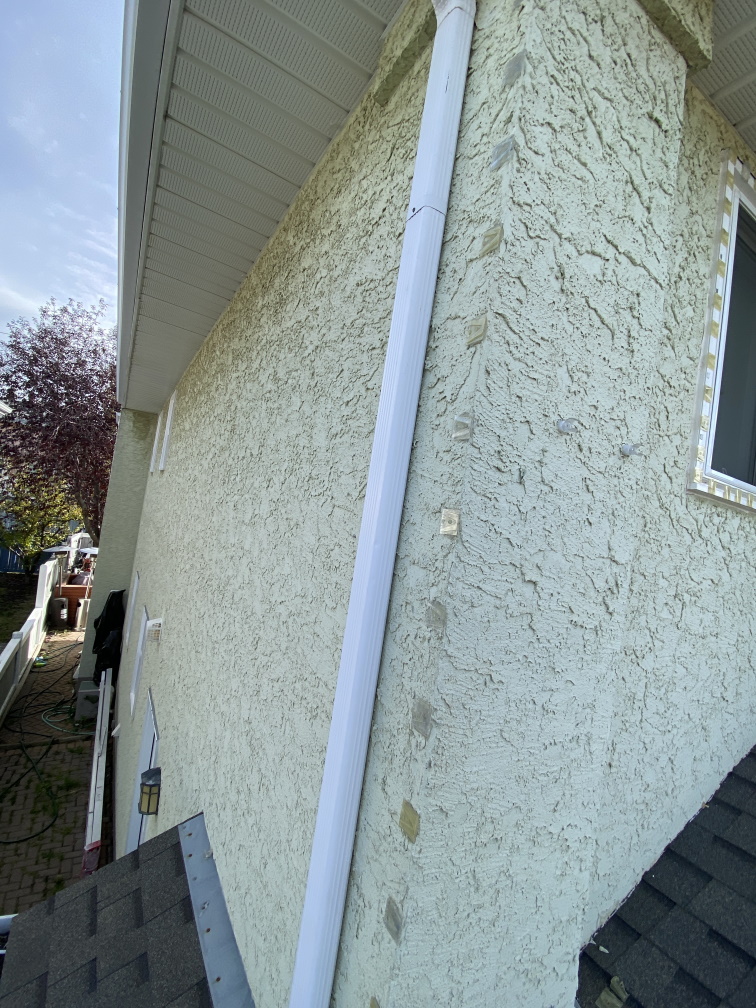
New Clips installed on house 
Controller Installed 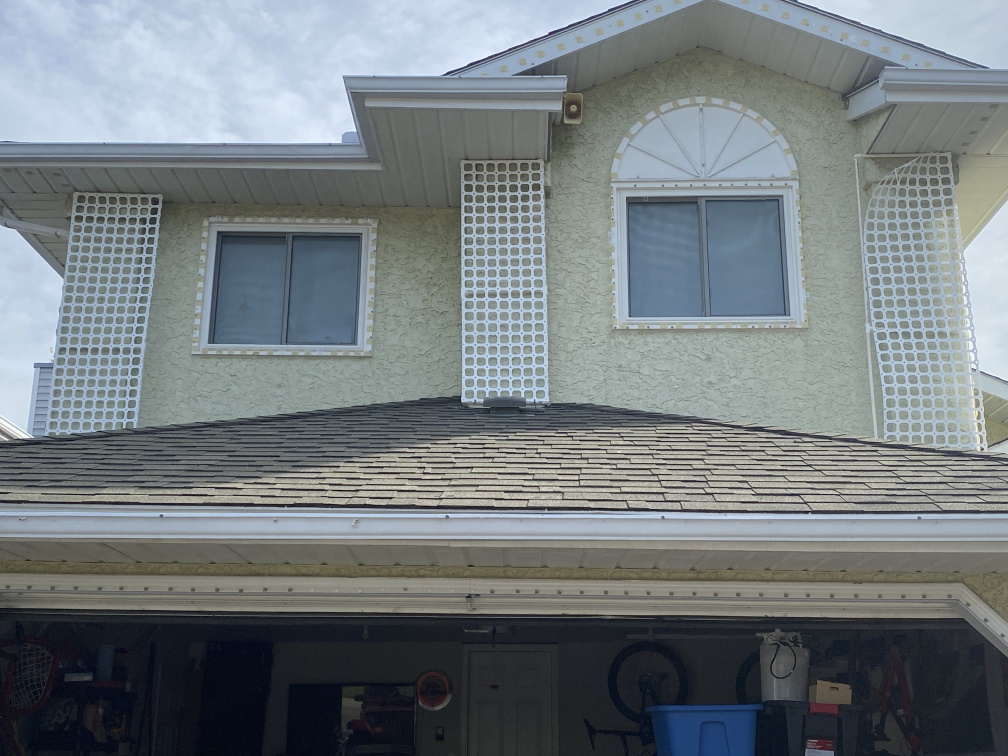
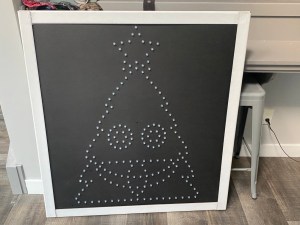
Test Fitting Matrix Panels
Now the install could begin. The first lights I put up are the icicle lights as they require hanging over the edge of the 2nd storey, not having anything else around to get tripped up by is pretty key here. These lights have an amazing knack for getting tangled, I likely untangled them about 3 times before finally getting them up. Next is the upper right RGBs, for the same reason, I need to be on the upper story to attach them to the peak above one of the windows. Then it is the upper roof RGBs, these are the last item I need to be on the 2nd story roof for. Although I will still end up there a couple of times if the weather permits as the living room pitch and upper gutters are easier to install from the roof even though they are ladder reachable. Next were the upper Left RGBs and then the 2nd floor windows. The Upper left and Right RGBs are some of the more complex to put up as they require been on the 2nd storey roof, the garage roof and also require some access from the extension ladder. They also have some of the toughest to reach sports to install the lights. I had the pitch on top of the garage roof scheduled for this day too but decided to postpone this as I still had some work to do with the upper matrix’s and didn’t want to be tripping or stepping around the garage roof RGBs.

Ready to install some lights 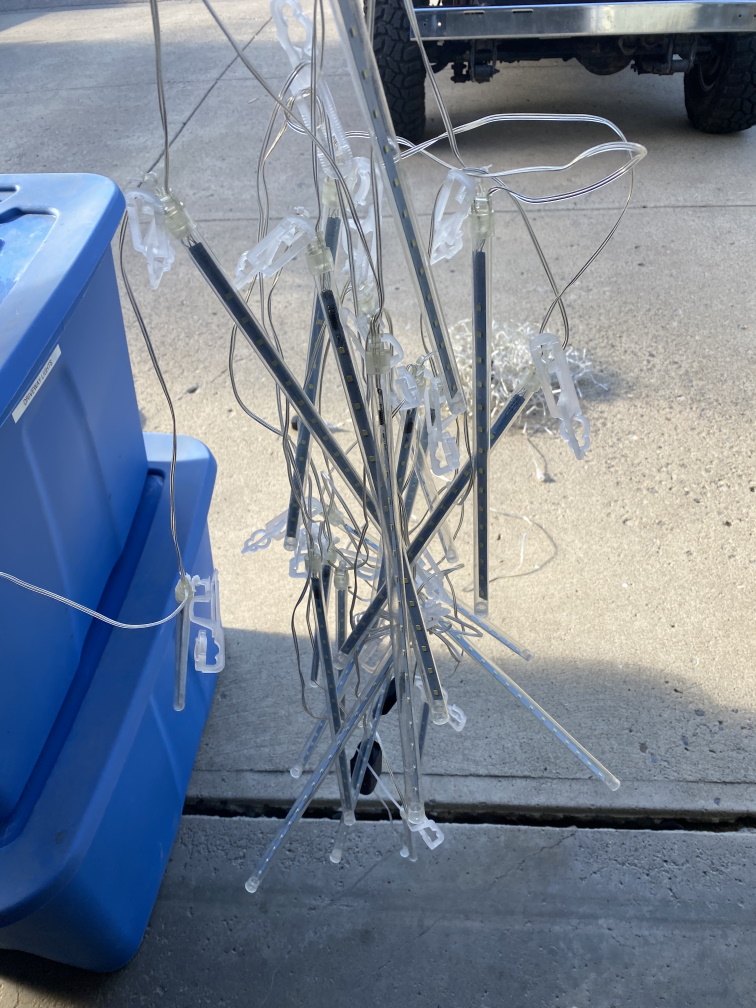
A bit of a knot here Rusty! 
A knotty mess 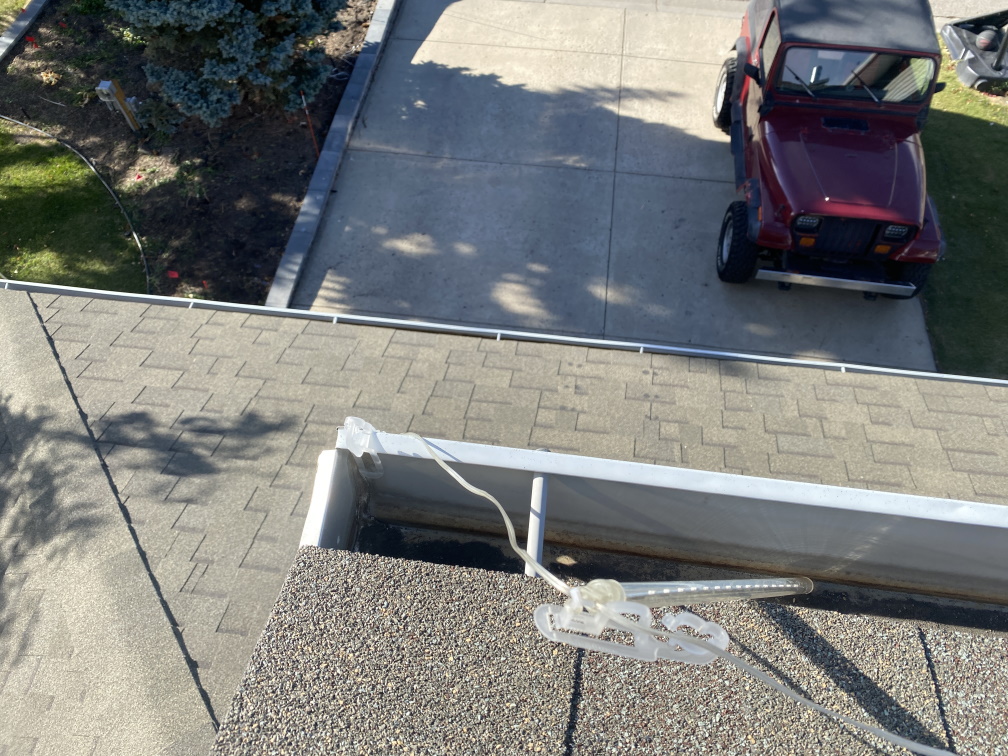
First light installed 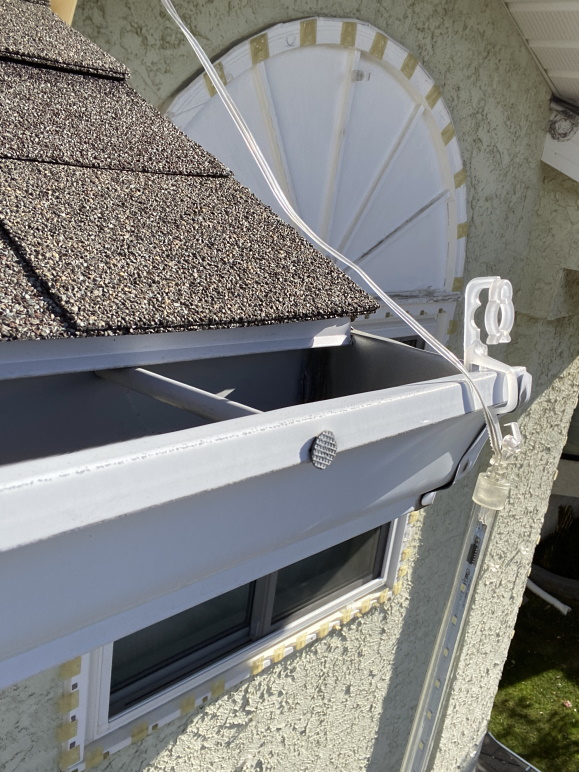
First light installed 
Testing the RGBs before install (lessons learned) 
Upper Roof RGBs 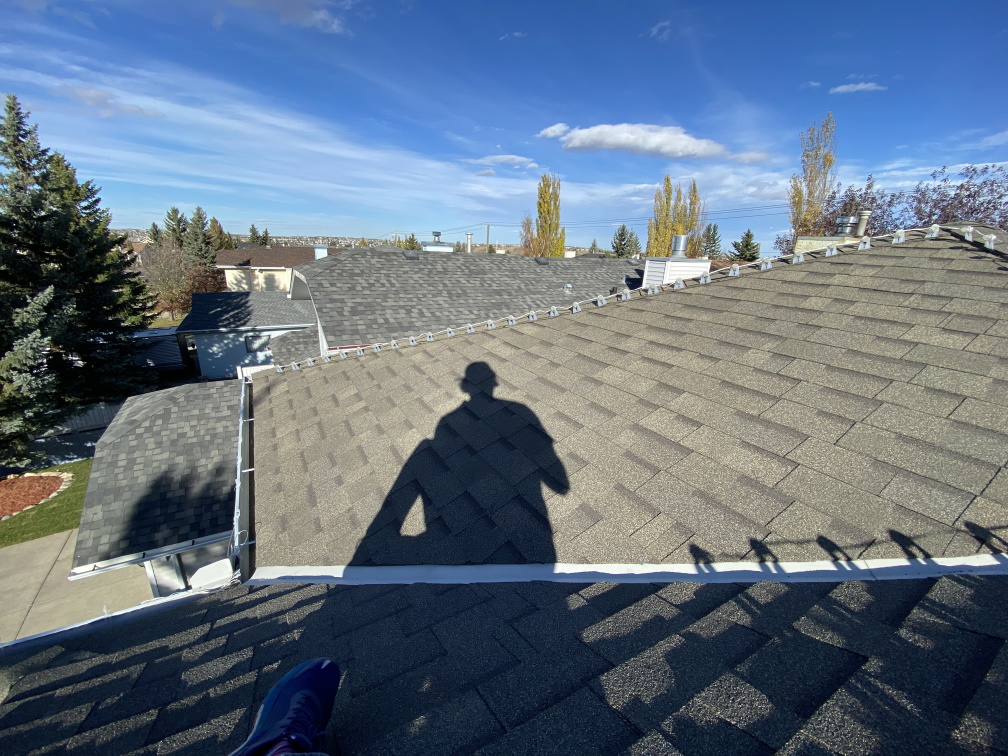
The Upper Roof (hopefully done up here) 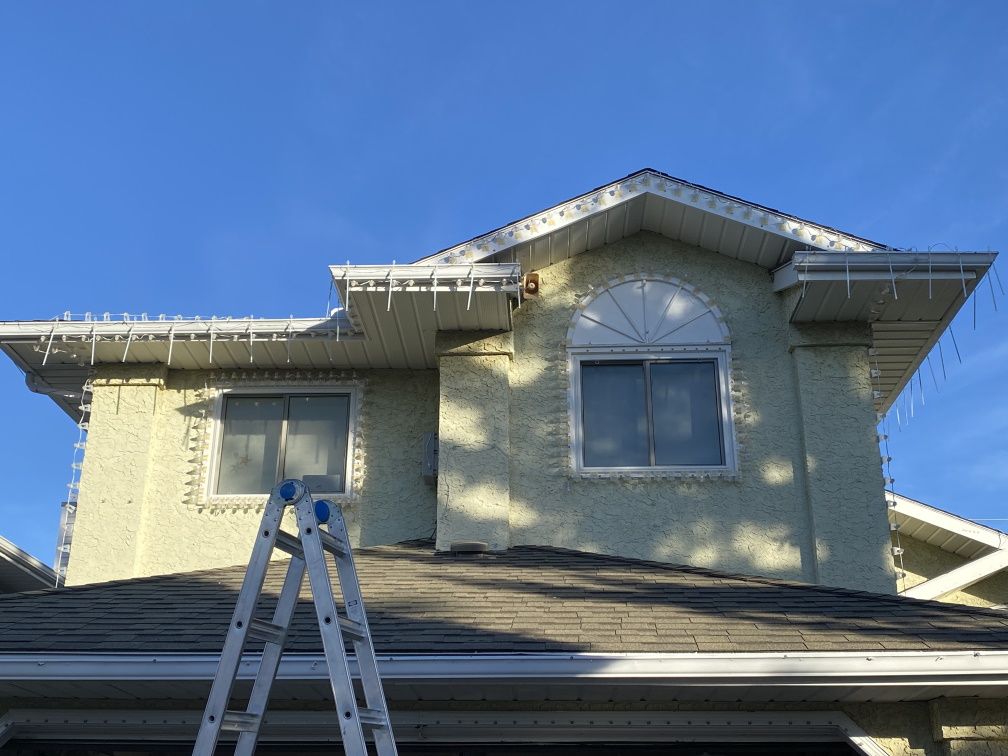
Upper storey mostly complete
Weather watching will be key to the Garage roof RGBs, House Matrix and Stockings install. I will postpone these as long as possible but if there is snow forecast I need to get them up before it arrives. I am delaying this because I am not finished the matrix (I would like to get these up before Halloween), and I also prefer to put up anything decorative (the stockings) until after Remembrance Day on Nov 11.
On Sunday I thought I could get the light strips for the arches quickly built so I could assemble them in the afternoon before putting up the lights on the living room pitch. Well what I expected to take an hour took about 5 due to my sub par soldering skills and me rushing to get it done and making a few mistakes. The amount of props that rely on connections I soldered terrifies me. Once I had finally got the strips built it was dinner time, after dinner I assembled and tested the arches. That was it for my second scheduled weekend of the install. Coincidently it was exactly a year since I built my first set of arches.
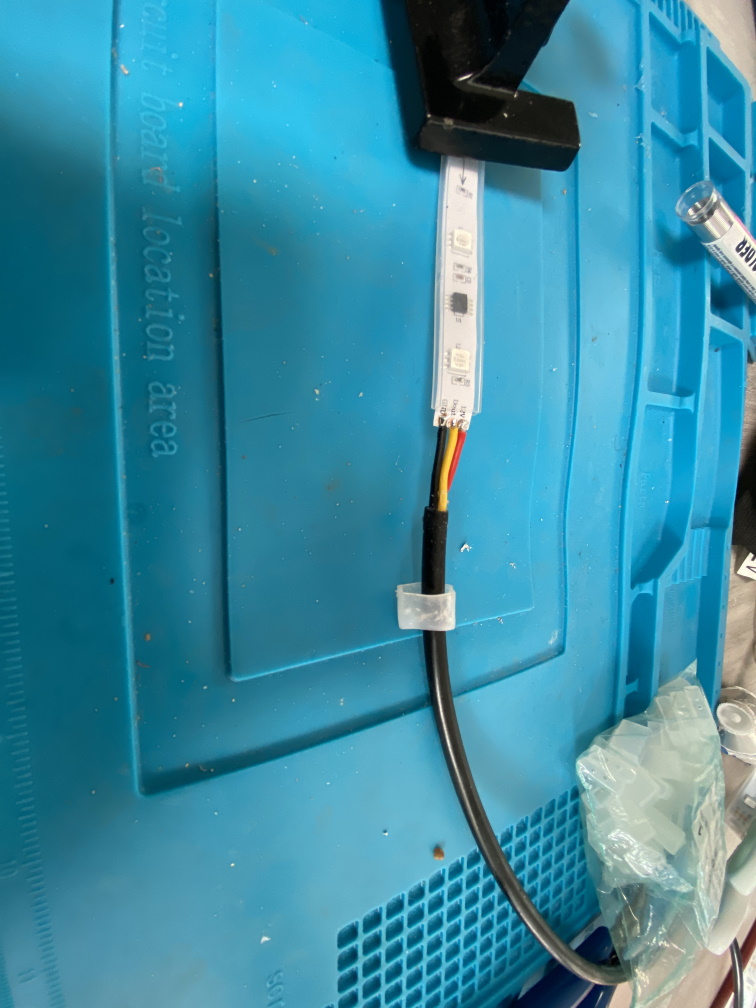
Making the arch light strips 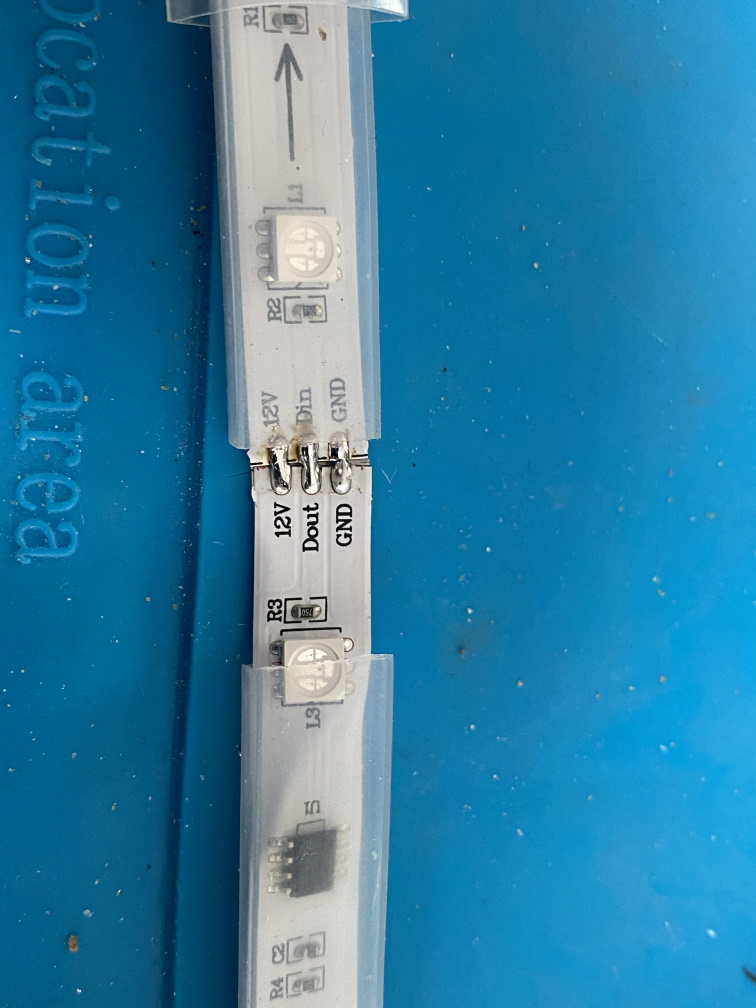
Cutting and soldering strips for the arches 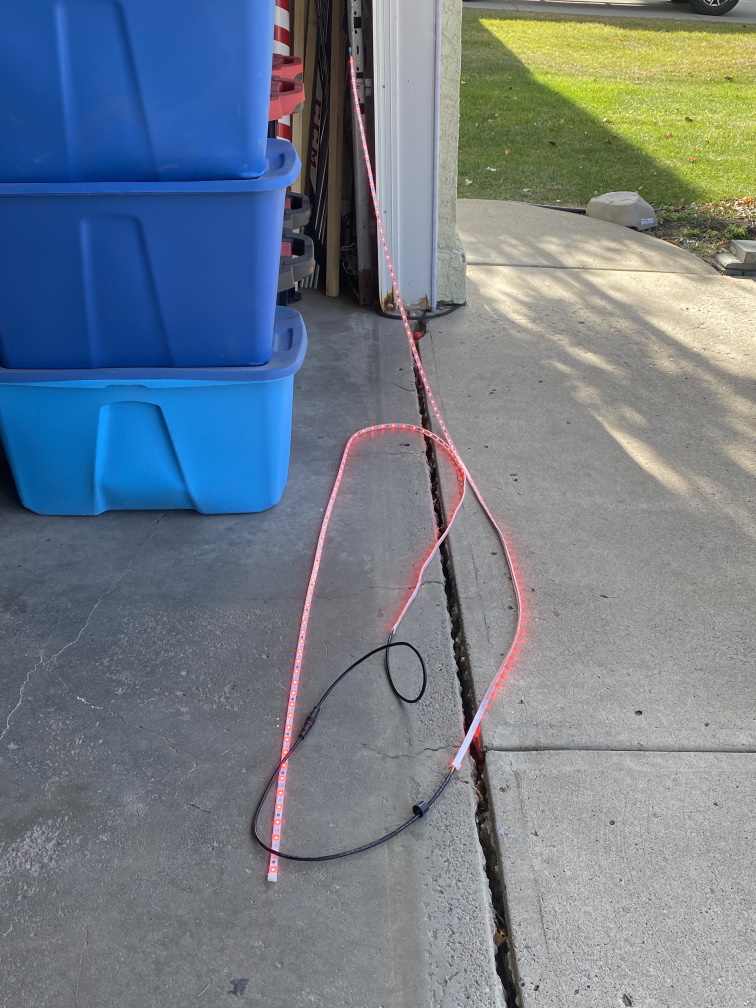
Testing the assembled strips 
Testing a single arch 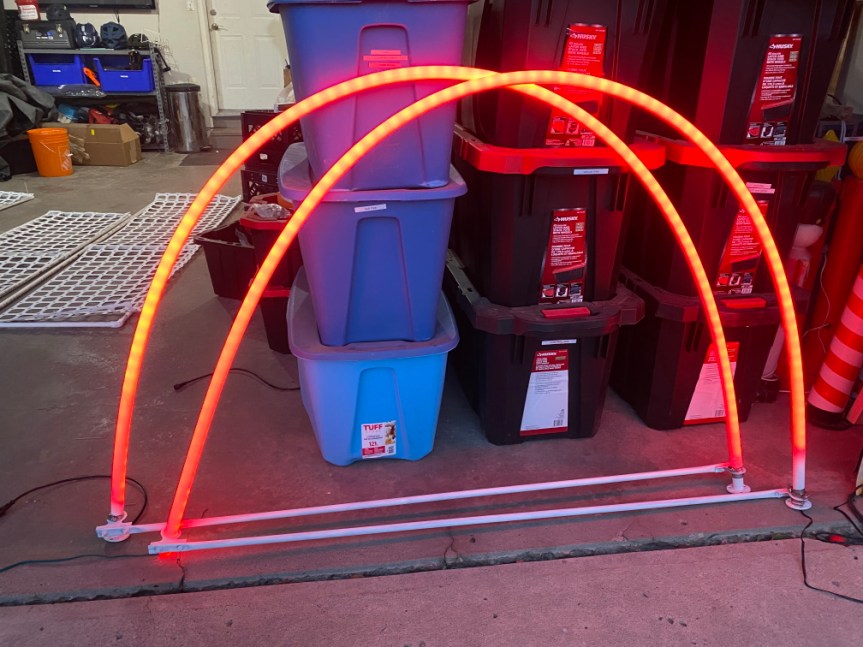
Testing an arch pair
Next weekend will be less on the install and more focused on finishing up the matrix panels as well as starting to connect the lights that are already installed. I also need to figure out where we will put the singing trees as they are much larger than I expected. I thought they would be around 60cmx60cm like my singing Santa, but it turns out they are closer to 120cmx120. I don’t want to have them right at the front of the display where I initially anticipated putting them as they will block too much of the rest of the display and my view to the street.
Over all I am close to back on track with the install and little stress around my progress.


One thought on “The transition from build to install”