
I’ve always wanted to add some North Poles to my display, this year when I was looking for some projects in spring I ordered the Holiday Coro Candy Cane Post Topper. These seemed like a pretty simple project, the kit comes with a topper that plugs into simple drainage pipe plus a controller and RGBs for less than $20, this looked like a great bargain. These would also be my first foray into DMX so a chance for me to expand my knowledge of RGB lighting.
When I first received these in June, I started to play around with them, practicing soldering to the boards (I’m not too good at this, or soldering in general yet) and figuring out how to run DMX in my LOR set up.

Soldering up the board 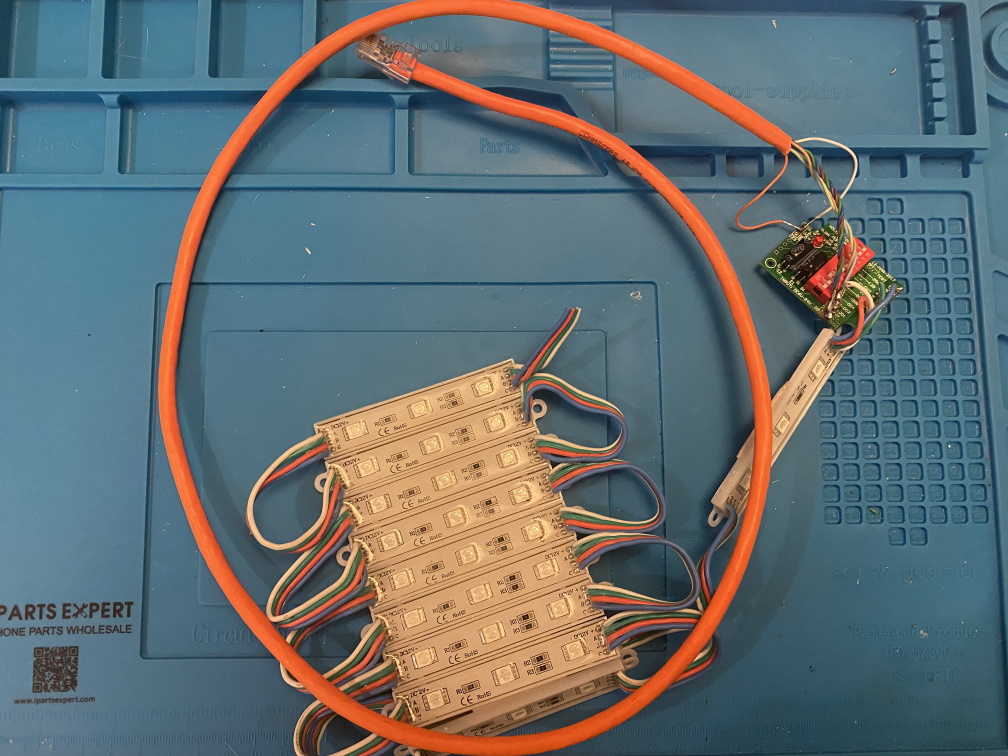
Board and RGBs 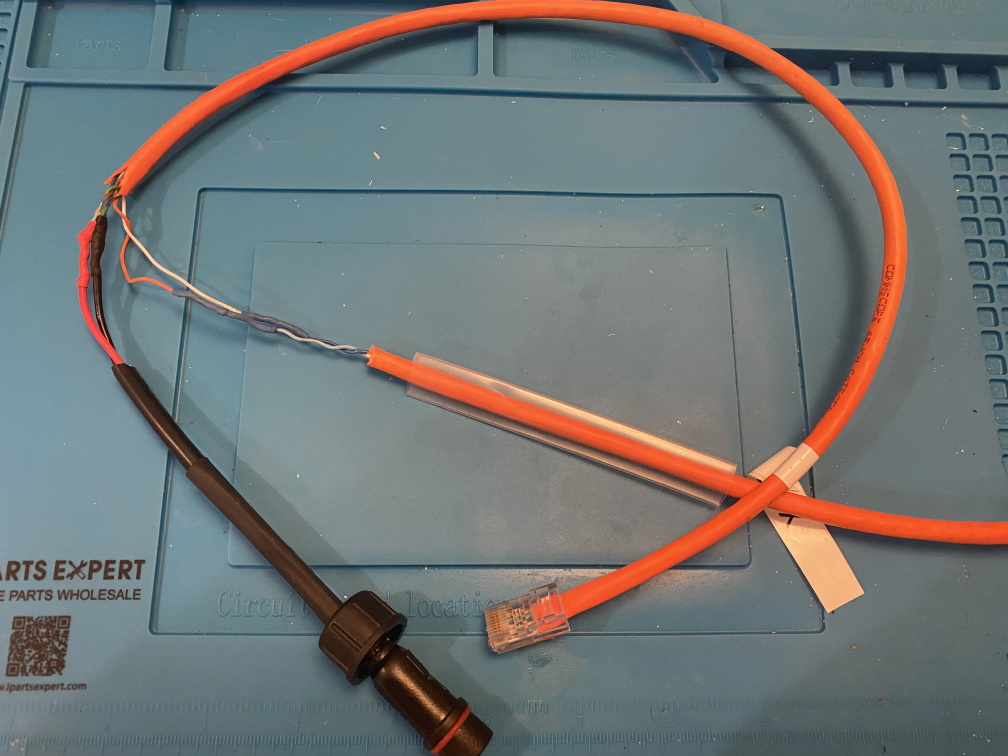
DMX -> LOR X-Over cable with Power Injection 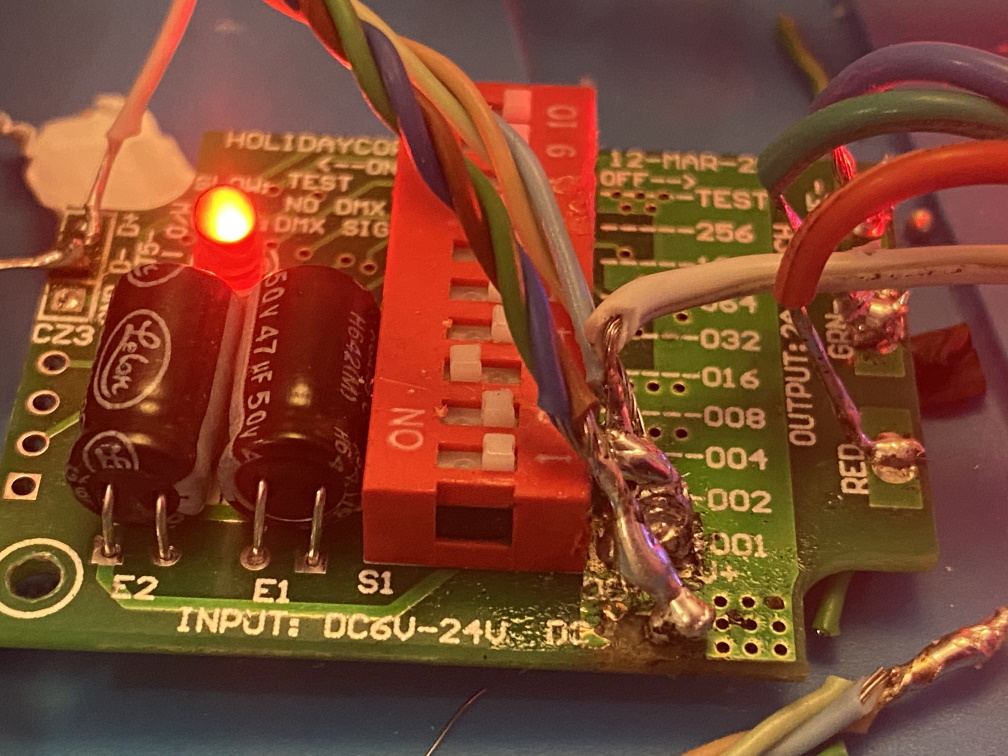
Booger Solder 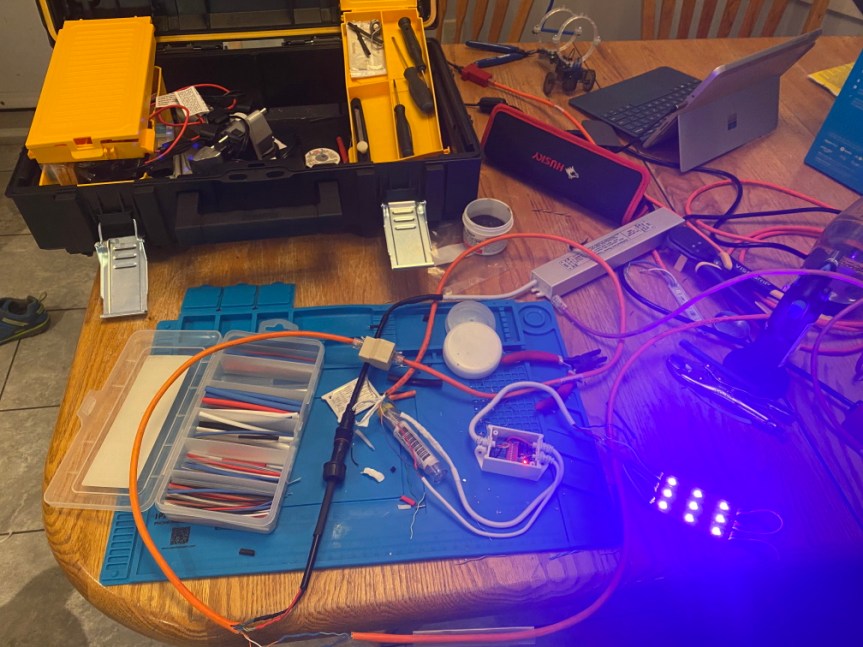
We Have Light
It took a while to get it all working as I had never soldered to a circuit board before (incase it wasn’t obvious by my booger solder), I had never had to inject power and I’d never run a DMX controller so didn’t know how to configure LOR. It took me quite a while and a little time on the LOR forums to figure out how to get the DMX controllers working right. It wasn’t that complex I just needed to figure out how to do things differently.
Once I had got the light working I began looking for the correct size drainage pipe, the toppers are designed for DWV Sewer Pipe “ASTM D2729” which I couldn’t find at any local hardware store. The ones here had a thicker wall so had a smaller inner diameter (about 1/8 inch narrower) which meant I could not insert the topper. This deterred me a little and I moved on to other projects. Once I started converting my sequences to this seasons layout I started thinking about the North Poles again. I spent many hours in the hardware store looking at different options and seeing if there were adapters or connectors I could rig together to make it fit. Finally I came to the conclusion I would need to grind my topper down to fit in the pipe we have available here in Canada.
The other thing I had on my mind was how I could make them stand up. I wanted to have 2 of my poles a little longer (6 ft) than the recommended 4 ft, I’m also in a pretty windy spot and lots of my props get blown over if not well secured. I have removed the Christmas trees from my garage this year as I am tired of picking them up all the time. One of the recommendations was a toilet flange but this really didn’t seem to have a big enough base to support them, and with the thicker wall my poles are heavier than the thin walled variety so will need a sturdier support. After thinking about this for a while I decided to use 2 pieces of rebar with some wooden stabilizers t inside the pipe.
Saturday was to be an uninterrupted day for working on my projects (until we had to go to hockey evals at 5pm). so I headed out to Home Depot to get some supplies for this project and some other ones I hoped I be able to get to.

For this project (much more in the truck) I bought two 10 foot 4 inch drainage pipes, two 4 ft rebars, one 1×4 5 ft plank a bag of 1/2 inch hose clamps. The idea was just to build a prototype of the mounting system, if it worked I’d get the rest of the rebar (all that is really missing).
I cut the pipe to make the 6 and 4 ft poles. Next was to cut the stabilizer from the 4×1 then drill two 1/2inch holes for the rebar to go through. I put clamps on the rebar where I wanted to stabilizer to sit then hammered the rebar into the ground. Once the rebar was in I slipped in the support then added another pair of clamps and a second stabilizer. I slid on the pole and it all seemed to work. I had only put the rebar about 6 inches into the ground, I intend to drive them 12 inches in when I mount them for Christmas, but the pole seemed very solid would bounce back to upright when pushed much harder than the wind will and generally felt very sturdy.

stabilizer 
Rebars with stabilizers 
Pole over mounting system 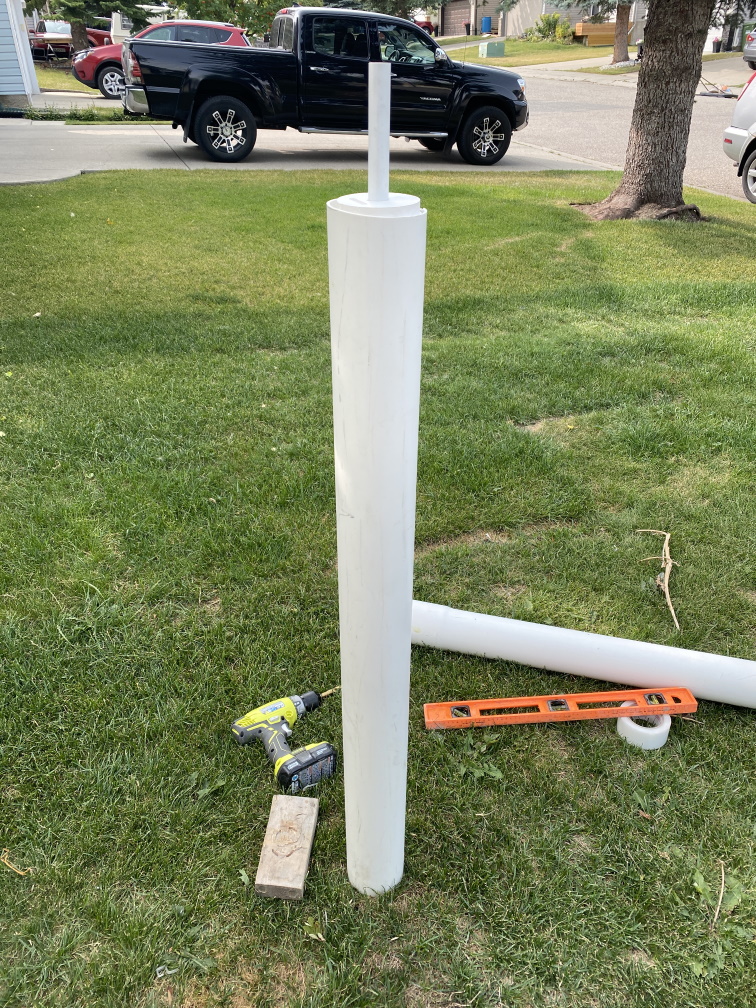
4 ft. Pole 
6 ft. Pole 
North Pole Mock up
I also cut about an inch of the 6 foot pole to give me a template to trace the pipe diameter onto my topper to grind it down to size. I had been really nervous about this but it was really easy with the small piece of pipe to trace the size and a disk sander to grind down the piece.
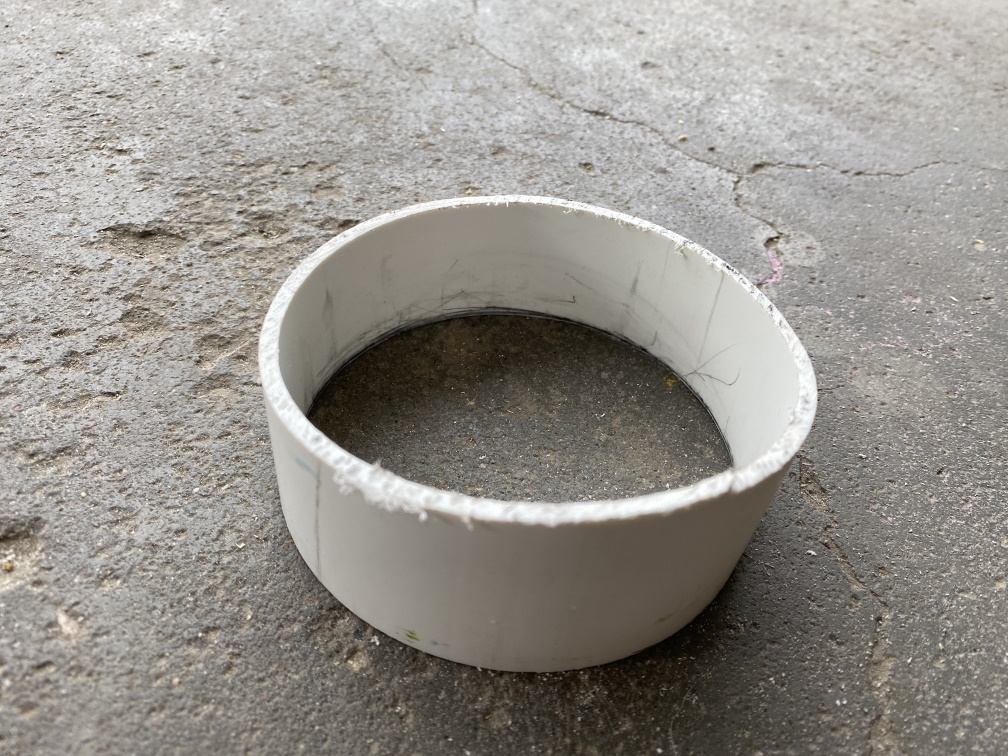
Template to trace the pipe size 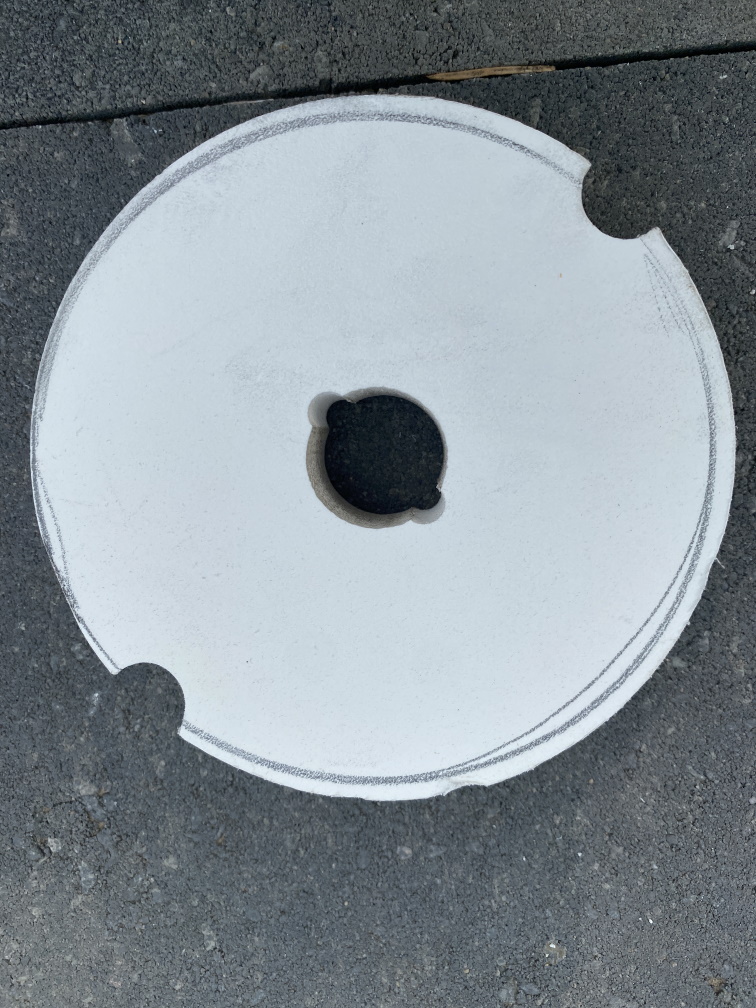
Topper marked for grinding 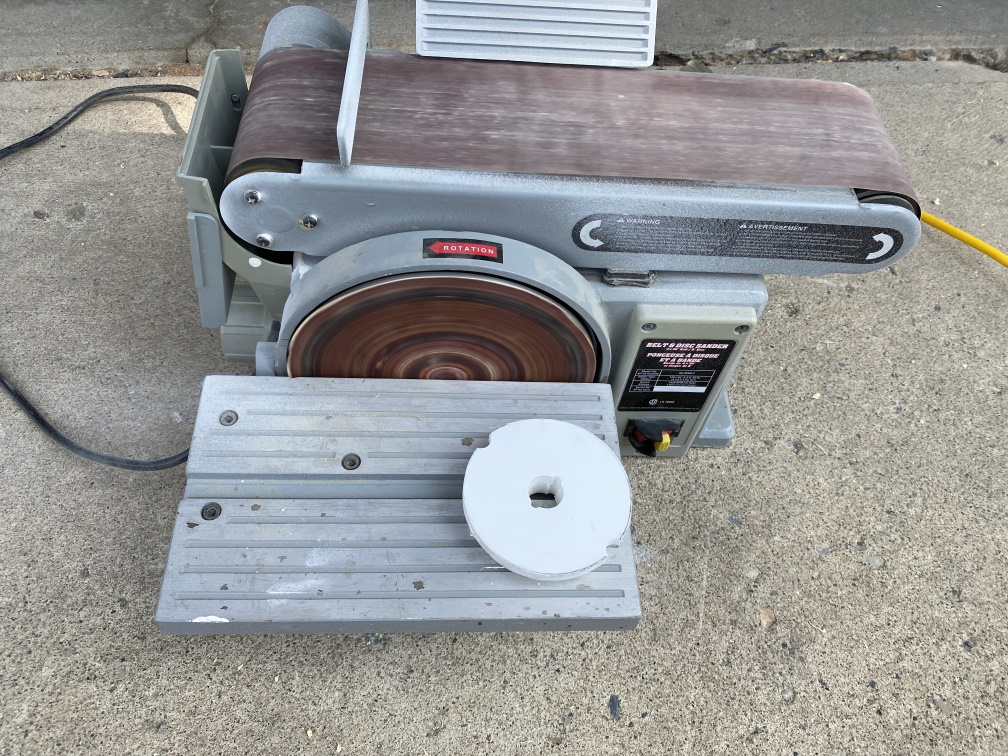
grinding down the topper
I had to make a second trip to home depot as my Jigsaw had gotten damaged and the blade guide was bent so I wasn’t getting a straight cut for my stabilizers, I also wanted to get a deeper miter box to help keep my cut on the pipe straight. I decided to try a hole saw instead of the jigsaw to get a more consistent circle for the stabilizers, so I bought a 4 inch hole saw. Although this took me much longer than expected this was a successful day building the prototype support system.
After Hockey evals and dinner I decided to sit down and wire up the controllers and RGBs. This is when I found a flaw in my design. I needed to run the cable that would send power and the DMX signal to the controller down the pipe, this would also at min be an RJ45, but I wanted to use a water proof easy connect end which would be even bigger. I would need to add another hole in my stabilizer, likely 1/2-1 inch in diameter depending on the connector I would use.
A couple of other design flaws came up too, I intended to mount the Power Supply inside the 6 ft poles, with this inside I wouldn’t be able to slide the pole over the stabilizers. Another issue that came up is I didn’t have any 4 pin connectors as I usually using smart RGBs which only requires 3 pins, where these require 4 pin connectors. The last thing that was getting me nervous was the power injection, I wanted to make all the poles interchangeable not have different configurations where the power injection happens and I didn’t want to have to use a special cable from the computer to the first controller to allow for power injection, this seemed too easy to forget next year which could be catastrophic if I inject power back into my pc. I think I have come up with a solution for this and have ordered some parts from Amazon to make it all work. The hole saw I bought was also too small, leaving about 1/8th of an inch gap between the stabilizer and the pipe, I can fill this by wrapping the stabilizer in duct tape but decided to pick up a 4 1/8 inch hole saw to see how that works. The wood I bought was also splitting, so I have picked up a treated 1×6 board to cut the stabilizers from, hopefully this will stop the splitting and give me an even snugger fit.
I will share how the electronics come together in pt. II and also tally up the total cost for building these, what seemed to be an awesome prop for $20 is becoming significantly more expensive.

3 thoughts on “Building North Poles pt. I”