

Its now only two weeks to our official light up on Nov 28th. I fell a little behind schedule on the install over the last couple of weeks but knew I could make it up this week as I had 3 days off work.
After getting a good head start on the install the weather really didn’t cooperate in late October with snow everyday for a week, day time temperatures below freezing and overnight lows as cold as -20’c. The kids activities were also scattered throughout the day so there wasn’t anytime to really focus for extended periods so I decided to postpone any install items. I didn’t feel too bad because the forecast going forward looked positive to make up time.
Although I wasn’t installing I did get a couple of things complete, the first was finishing converting all of my sequences. The last one to do was Wizards in Winter and I had decided on a full re-do as it had been one of the first sequences I created when I only had standard LED lights. Even though I had moved from LEDs to RGBs the sequence resembled the initial programing using LEDs mostly just turning lights on or off or changing color.
Now I am complete the sequence conversions there are a few I want to go back to and clean up a little or add a little something here and there. I also have a few new sequences I would like to create. With one new one being added to the list recently when I saw the announcement of a Christmas collaboration between Dee Snider & Lizzy Hale:

I also worked on getting the network set up, I was a little nervous about this with moving to 4 networks vs. 2 last year and 1 every other year. The first part of this was updating my PC that I run the shows form as it had been in storage for 10 months. This took most of the day downloading and updating as well as updating to the latest version of LOR. I also needed to add a USB hub to handle all the network connectors.


After all this was done I worked on the network config, it all went pretty easy-peasy until trying to get my DMX lights to work. This is my first year with DMX to getting the configuration right made me nervous. After not been able to get a DMX signal I had to go back to my PC that I sequence on. I had been able to make the DMX work on when building my North Poles using that PC. The configurations all looked the same. Back to basics, try the north pole lights on my sequencing PC, nothing! There were lots of points of failure as most of this system had been custom built by me; LOR->DMX x-over cable, power supply, all connections etc. First I decided to test the other power supply, same result. I started to look at all the connection and that is where I found my issue: When I had been testing the north pole toppers I had been plugging the LOR-> cables directly into the controller wiring, when I put the waterproof dongles on I didn’t connect them fully to the input cable. Finally I had it all working and could do a quick test.
The last weekend of October I attacked my Ash tree getting up all the net lights and then adding the RGBs. This took most of the day. Even though I had been delayed I had all the RGBs up on the house except for the stockings. I like to wait until after Remembrance (Veterans) Day before putting out anything decorative but it looked like snow may be settling in so I had to get those up early to avoid being snowed off the roof.
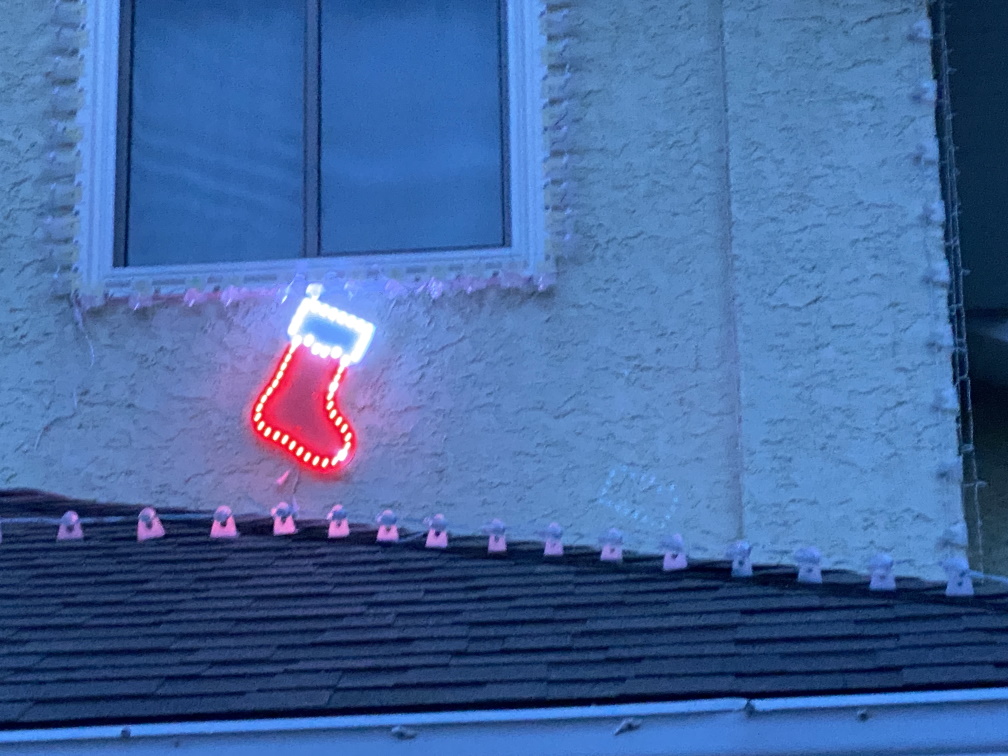
Stocking install 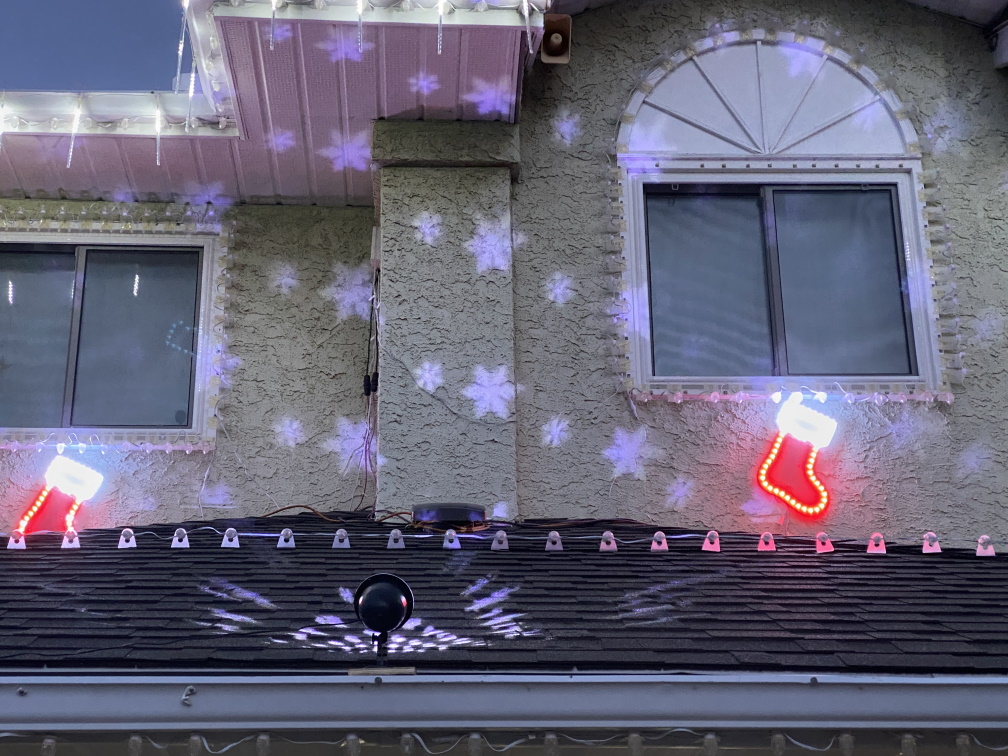
Stocking test with snowflake projector 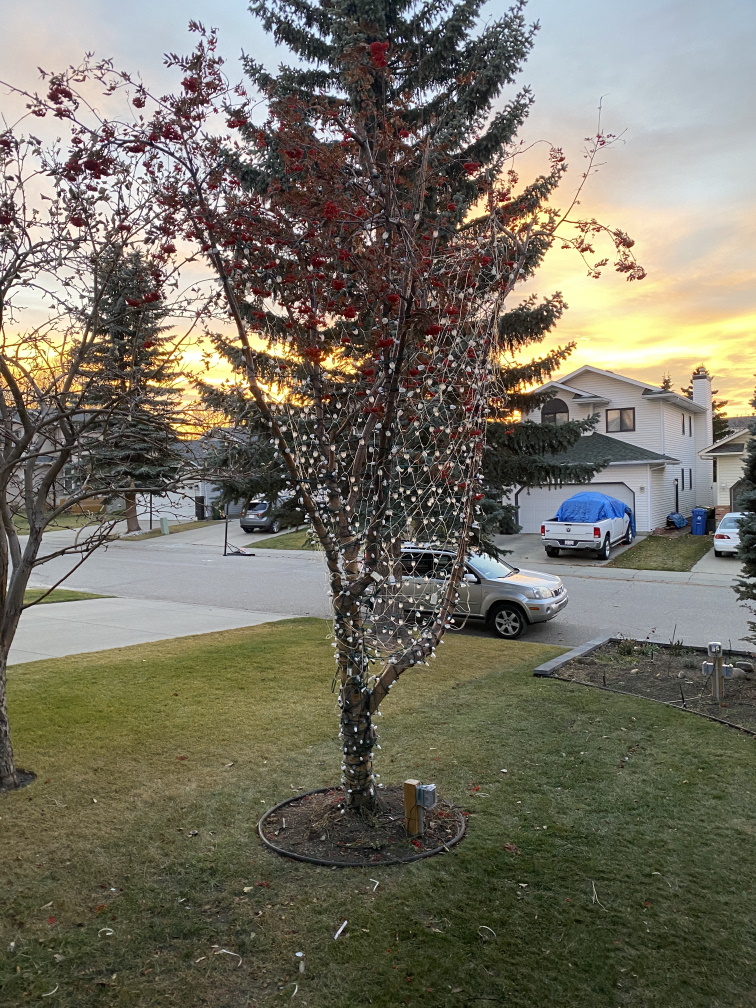
450 RGB, 640 LEDs, 900 net twinkle lights
The next weekend was the spruce tree which is one of my least favorite parts of the install as it takes a really long time requires constantly going up and down the ladder and moving it around. Although I dislike it, it is worth the effort as it looks fantastic once complete.

Box of Net Lights 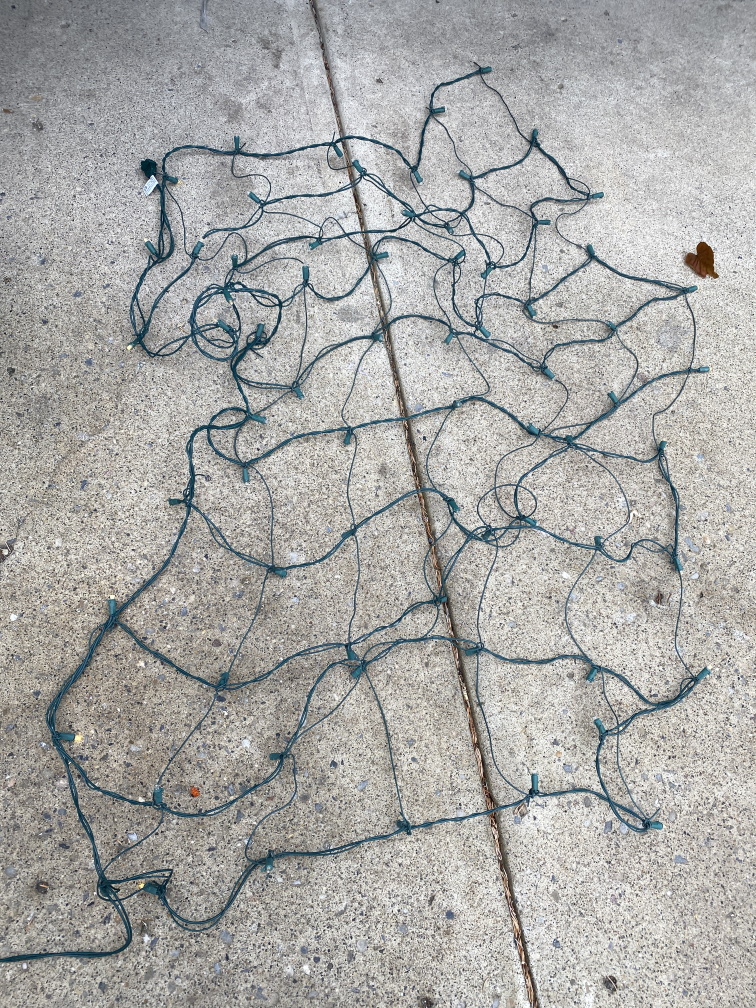
Testing the nets 
Lights installed 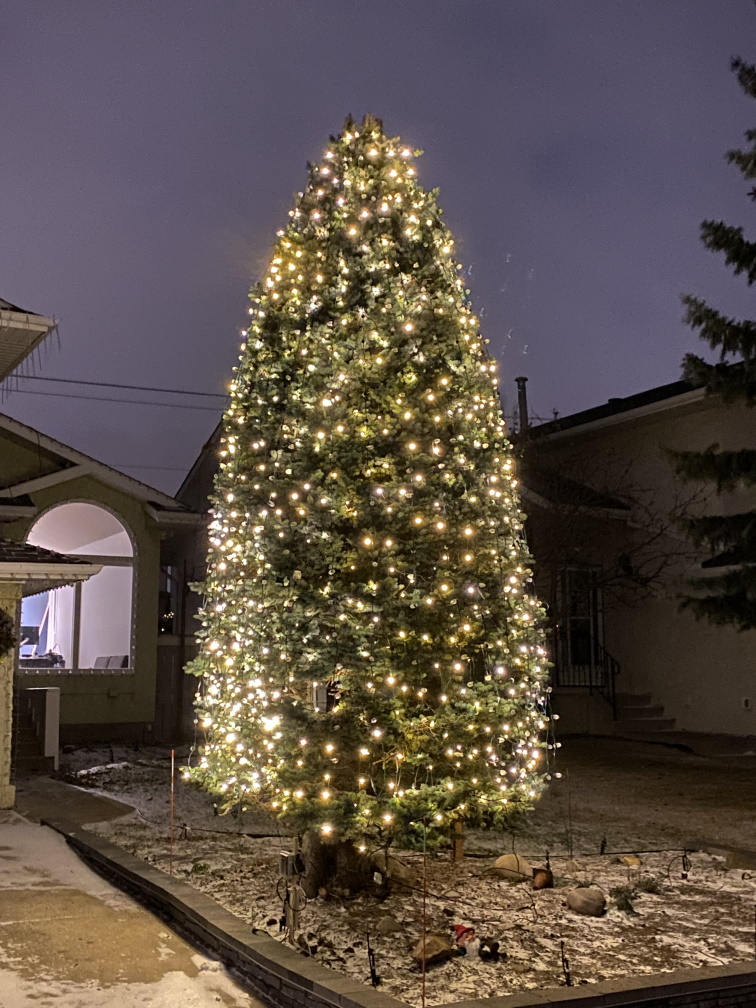
Net Light Test 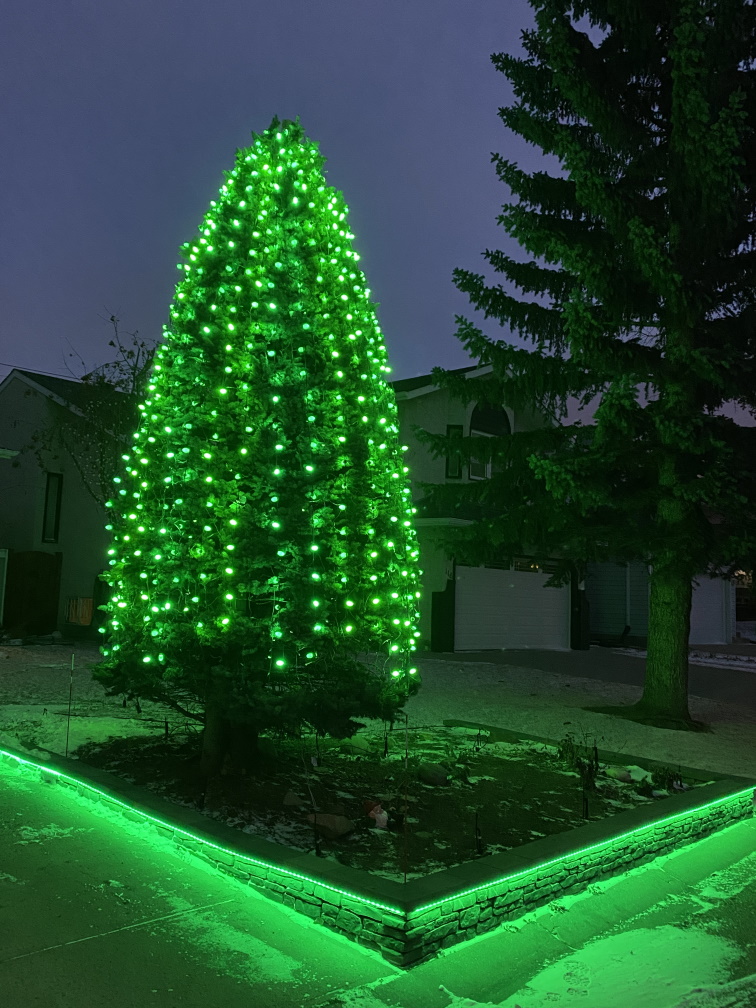
TGB Test 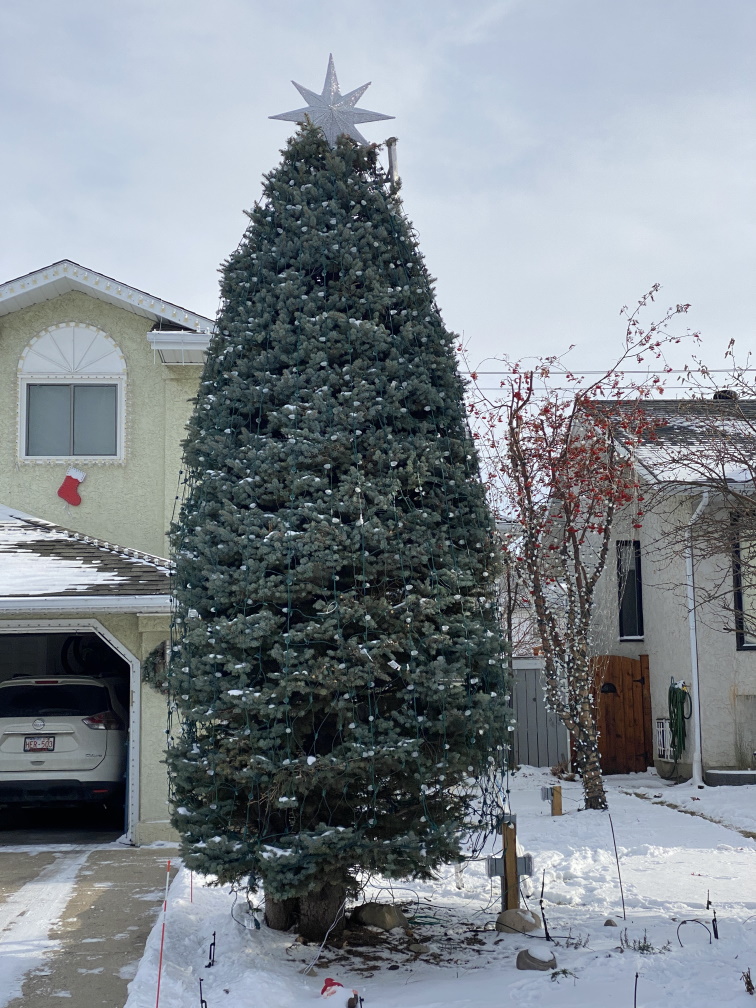
Star added to top
This week we had remembrance day on Wednesday which is traditionally a day I make a lot of progress. I also took the Thursday and Friday off work to give me a five day weekend. The plan was a couple of days installing a couple of days doing some of the tasks around the house I’ve been ignoring; installing a new bathroom vanity, painting baseboards and window frames and building a gate in the back yard for the dogs. These plans went a little sideways when I spent the first day and a half working. I finally got to the install on Thursday afternoon.
Thursday I connected the controller for my ash tree, using the homemade controller stand I built and the new permeant network connections I’d added to my front yard when I added power. These make me very nervous even though I tested them numerous times when I put them in. I was very relieved when the signal came up on the controller. I also installed the large C9 Ground bulbs I place on each border with my neighbors (these seem to creep more into their yards each year).
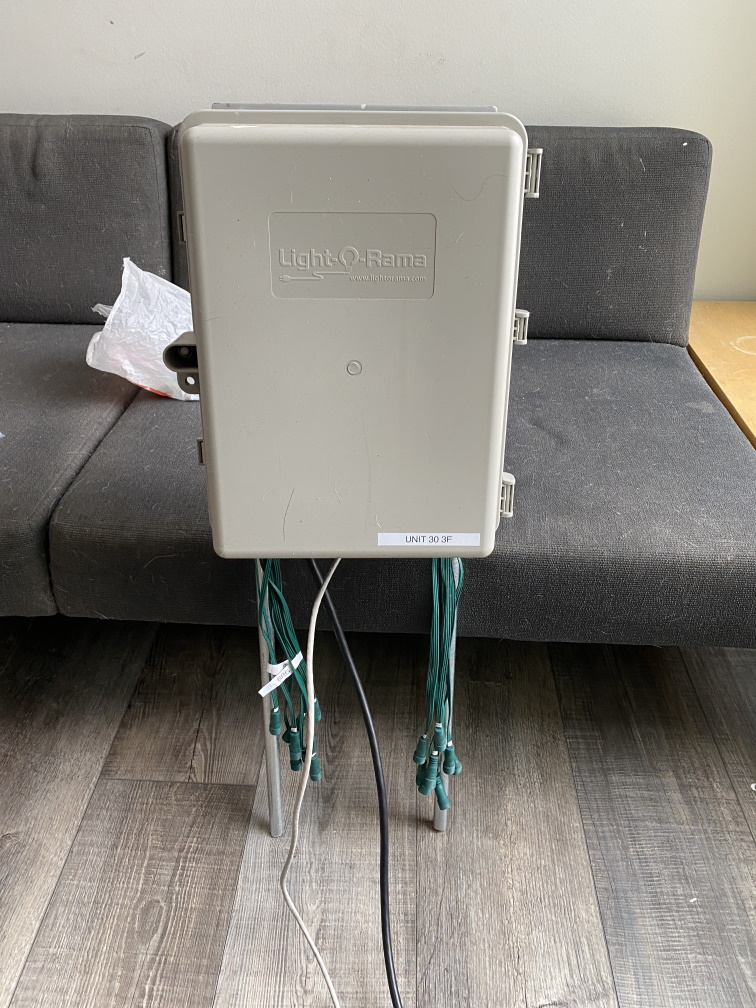
Homemade stand 
Homemade Stand 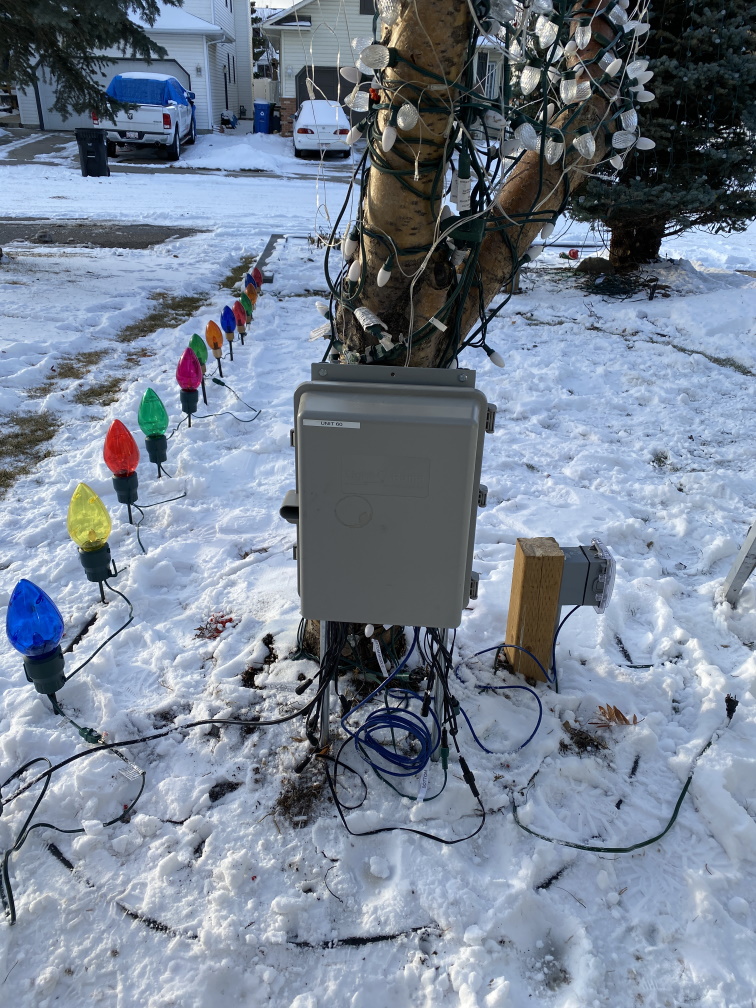
Stand Installed
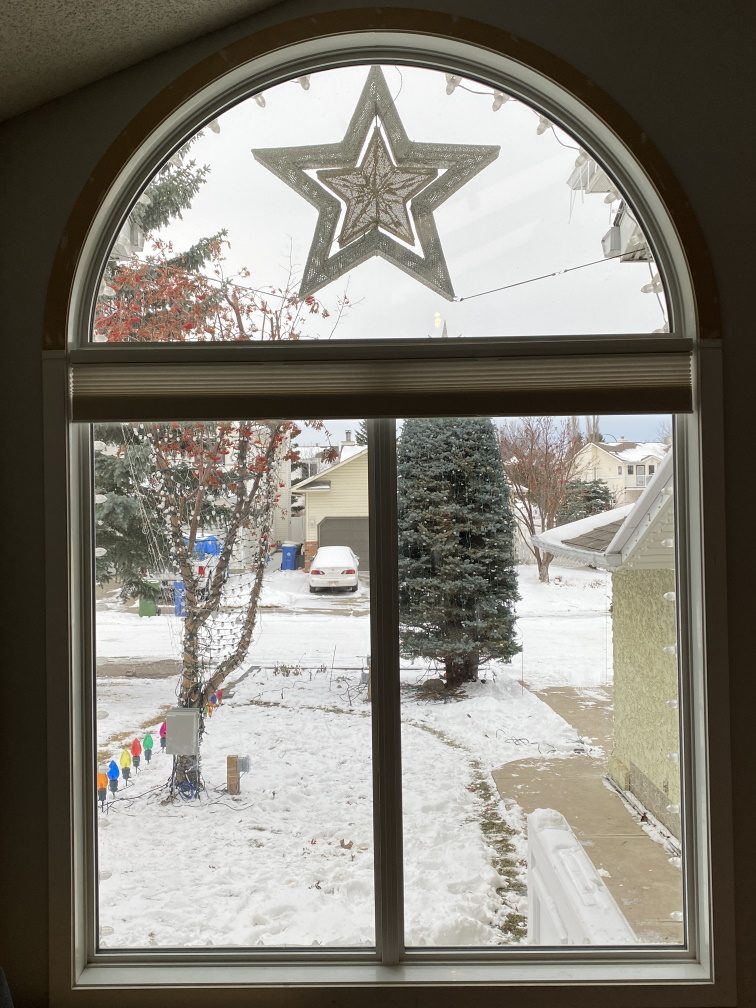
We had also purchased a new star to go above the living room window, the snowflakes I had here the last several years are getting pretty ratty and broken to where I have cut a couple off the end and several are held together with tape. The star is actually a ground decoration but I thought I’d see if I could hang it. A piece of electrical conduit many zip ties (to reinforce and add redundancy to the decorative hanger), some bungie cords to prevent it blowing around and it was all in place. I’m super happy with how this looks from the inside and the outside.

Friday was pixel day. I started the day fixing the pixels around my garage door. I had a pixel that had gone bad, this is the second time this happened, last time i replace the entire string. This time I decided to replace the bad pixel to save time. I cut out the bad pixel and added one from the string that had failed earlier. This takes less time and is much more cost effective than replacing the entire string.
Initial bad pixel 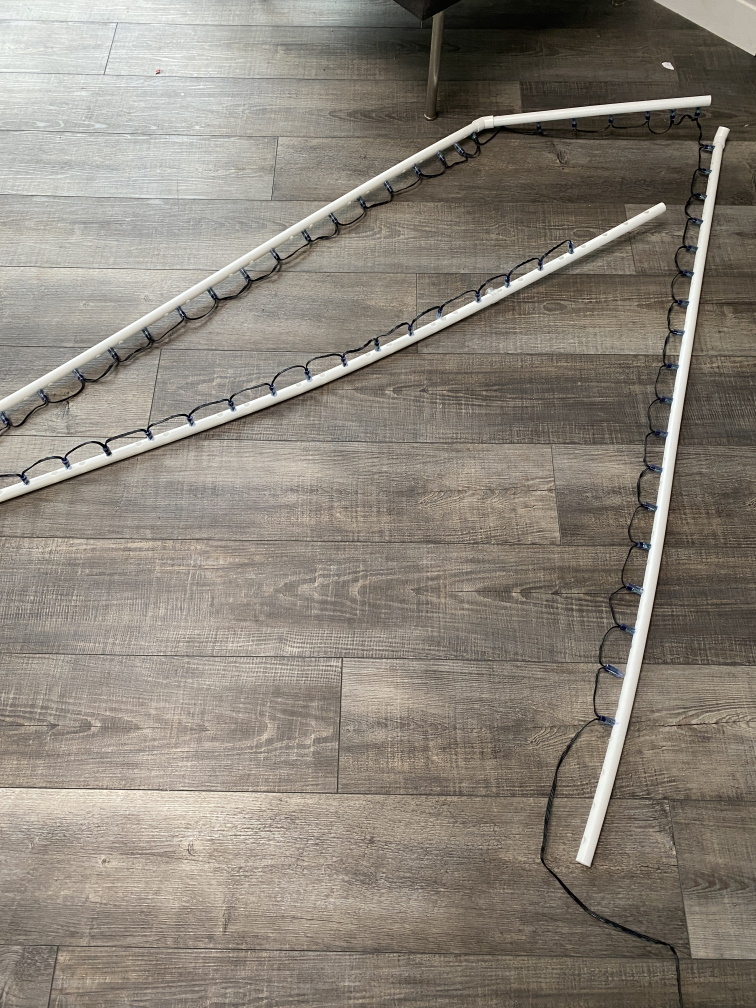
mounting removed 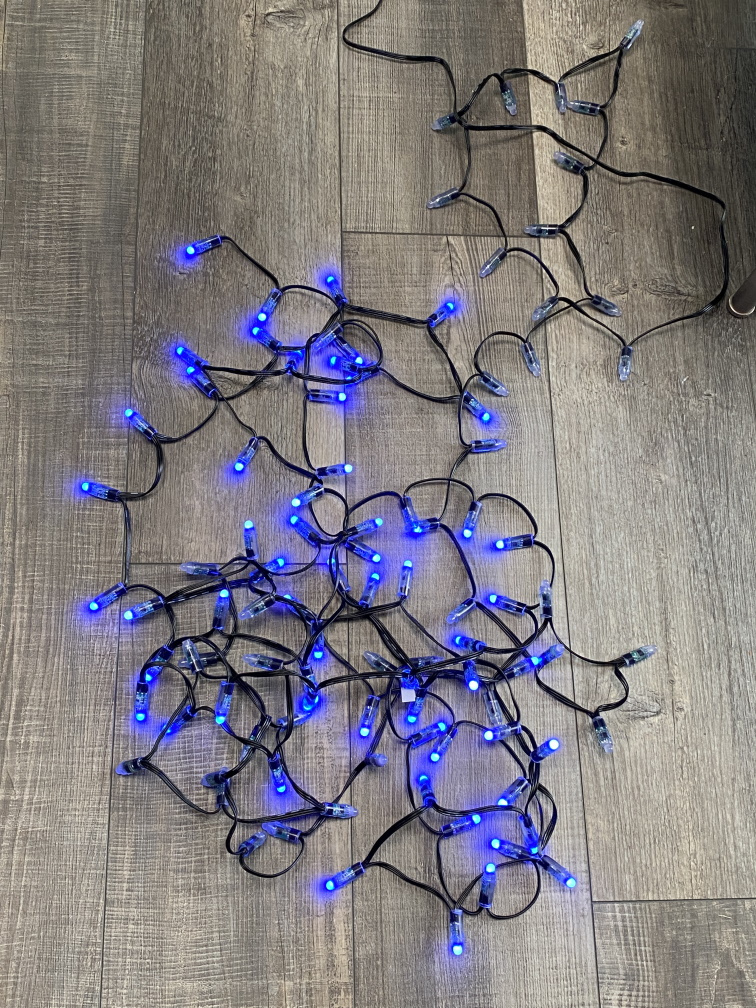
Bad String removed 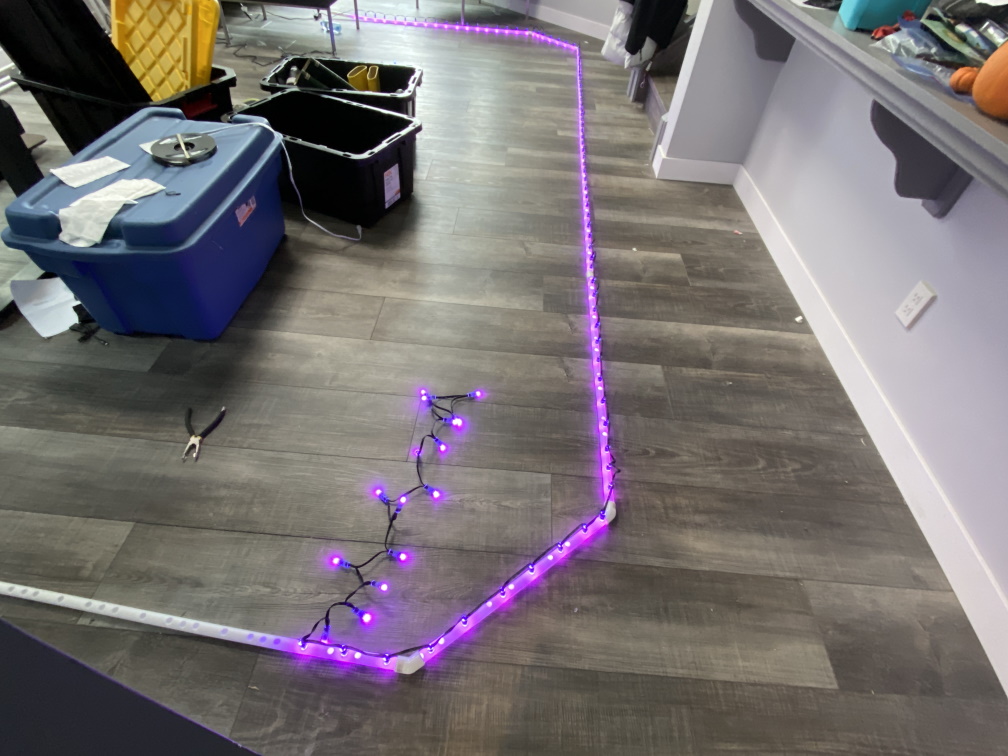
New String installed 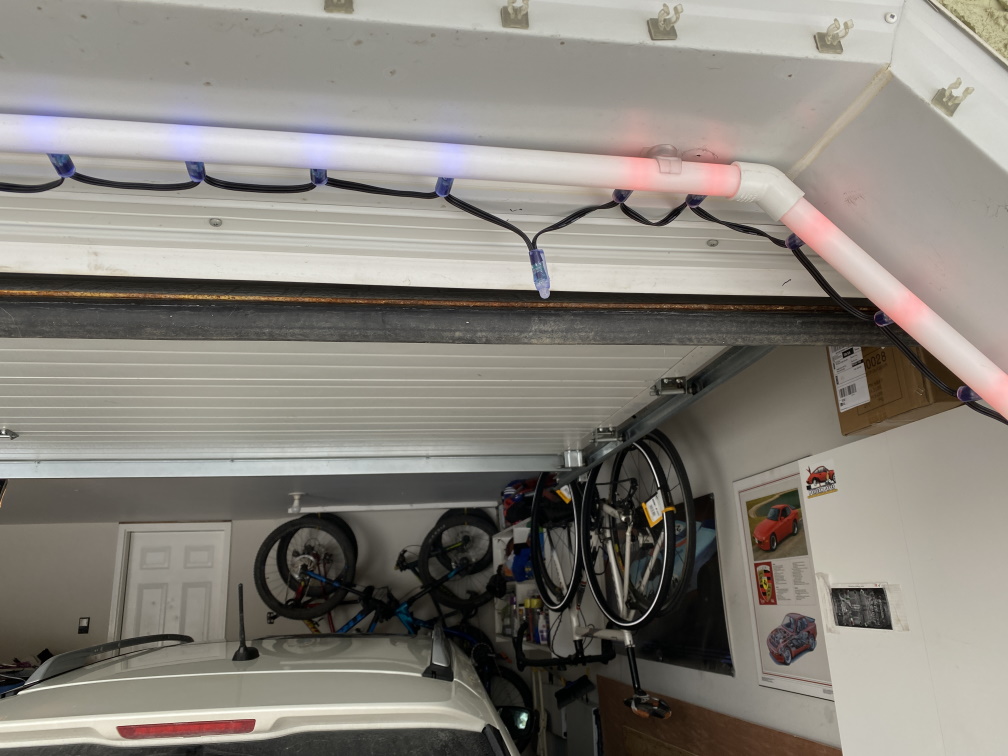
Another bad Pixel 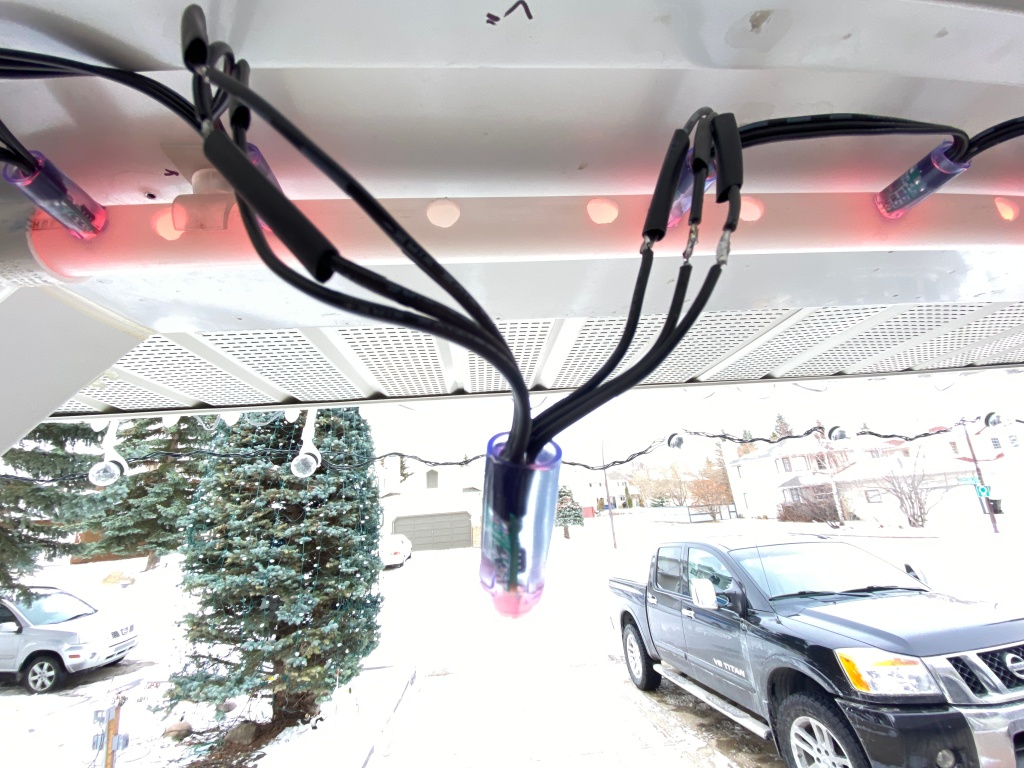
Pixel Replaced 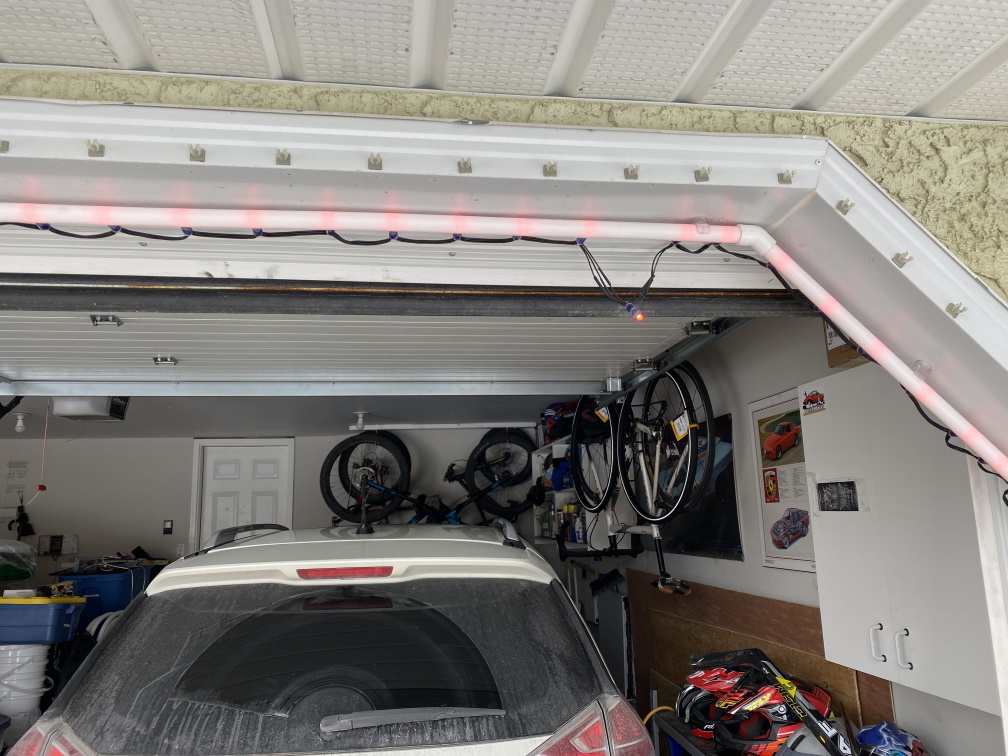
Soldered and shrink tubed 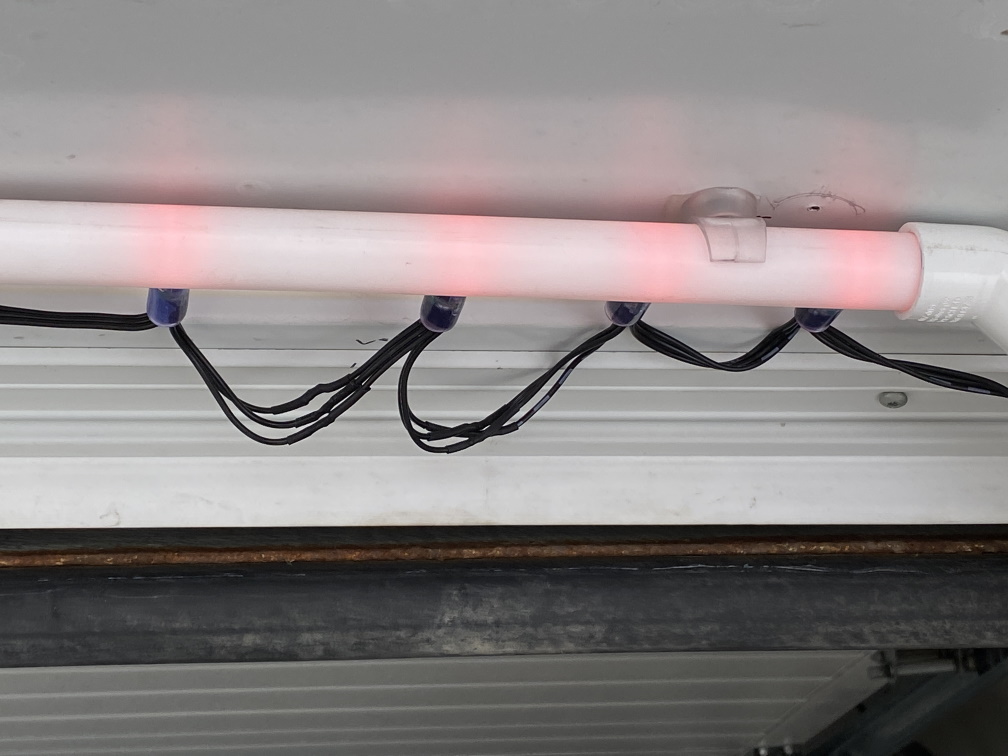
Reinstalled
After fixing the garage string I focused on getting the pixel panels installed. I thought the wall I built around my flower bed would really help the layout which it has, but it made installing the pixel panels a little more challenging, where I wanted to place the panels put the support re-bar right into the top of the wall, so I had to re adjust a little and creep over into my neighbors yard.

Pixel Panels ready to install 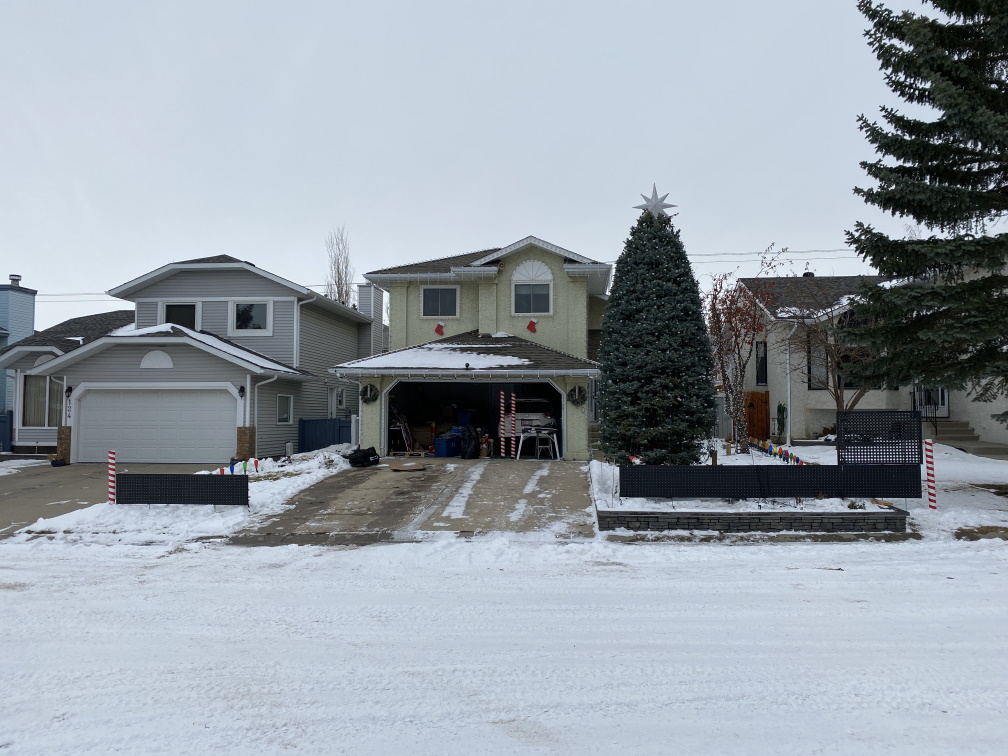
Pixel Panels installed 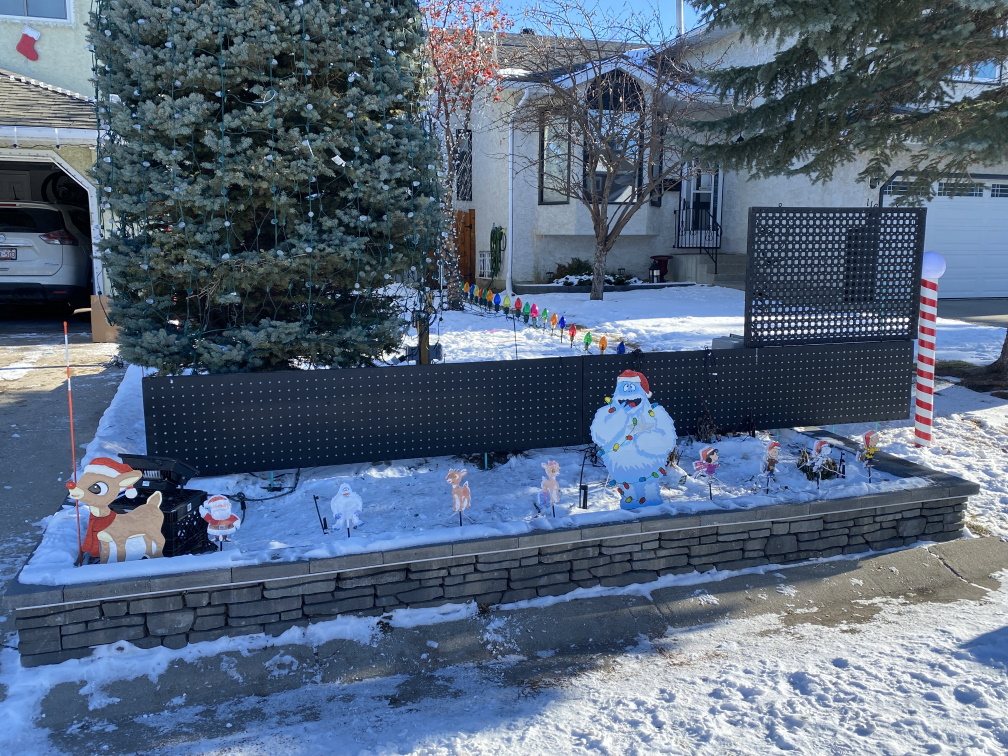
Right side panels (x3)
Next was the small North poles that frame the pixels, and the pixel tree this also allowed me to get out all the controllers and begin connecting the 120v accessories and the RGB strings. After I got all the props on the left side of the house hooked up I started connecting the traditional LEDs to controller #2 on the right side of the house.
Saturday was connecting the last of the controllers and the floodlights, then installing the big (6′) north poles and power supplies, build the mountings for the pixel candy canes and install them, add the mini trees and finally install the LED candy Canes that border the walkway to the front door.
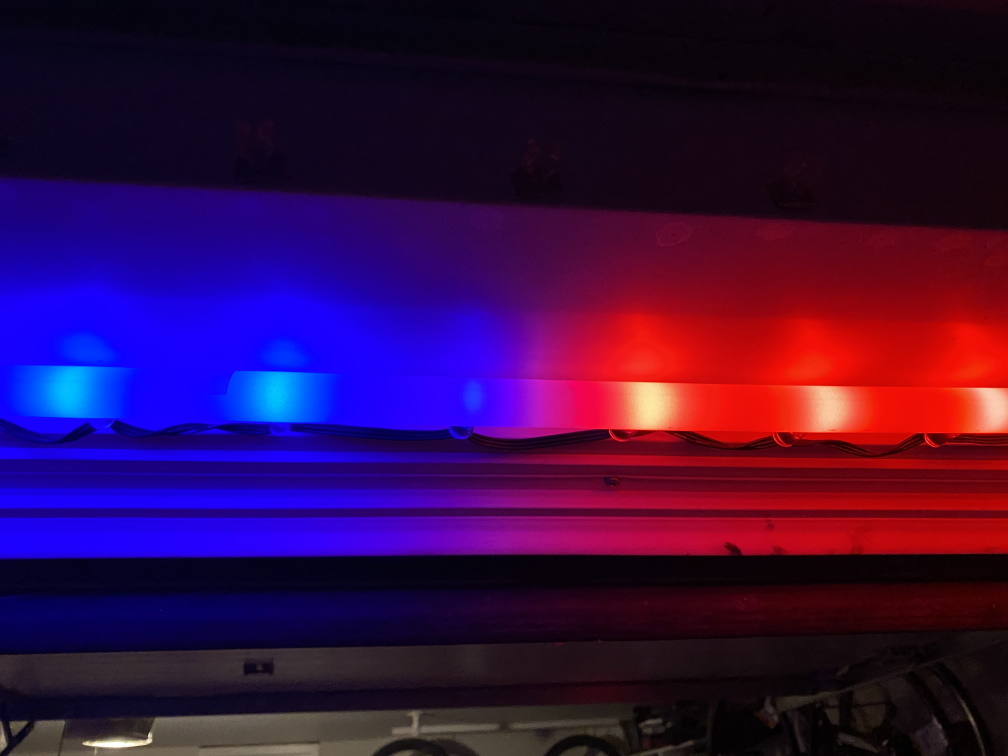
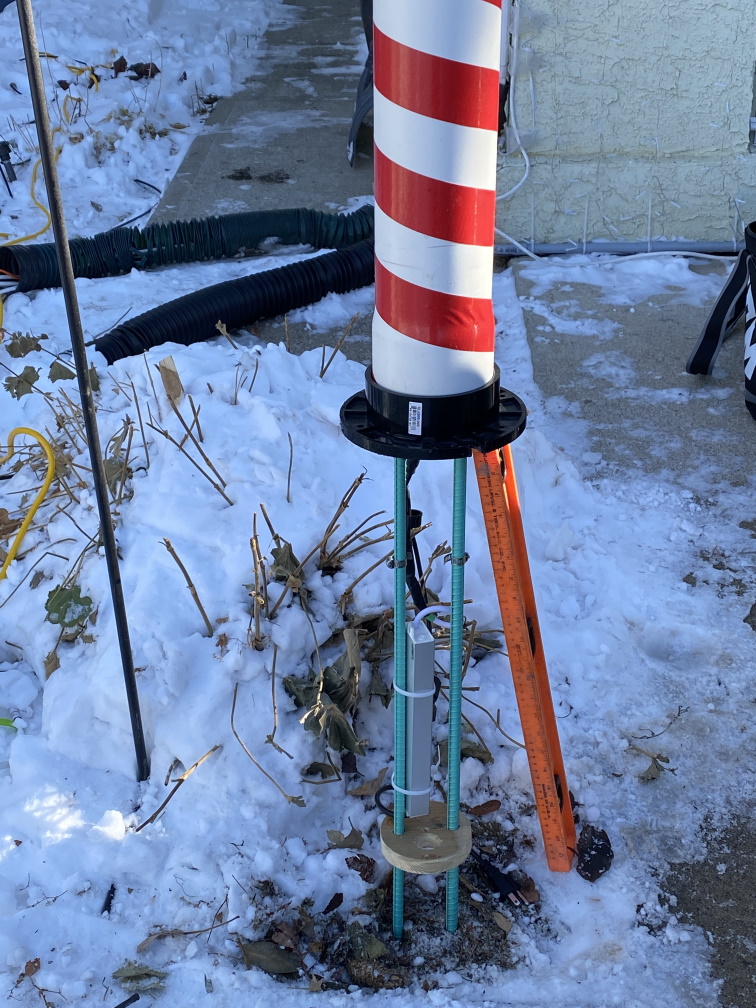
Installing the North Poles was a bit of an adventure, the mounting system I had designed worked great but I had built the controllers and cables without a lot of extra cable length and the space inside the poles made it hard get it all to fit. I knew this would be fiddly but it was much more difficult than anticipated. I finally ended up ziptieing the power supply to the rebar supports and it worked great. Much better than trying to squeeze my arm inside the pipe. The install took a long time but the poles looked great. Now for the really nerve wracking part; hooking them all up. This makes me nervous because DMX is still pretty unknown to me. I soldered all the boards, cables and connections myself and I’m relying on my yet untested inground network. After hooking up the power all the globes turned blue, a good sign as this means they are working but have no DMX signal. The final step is hooking up the network, if all is working the bulbs will shut down and we will be in business. After connecting the network all the bulbs went out. WIN!
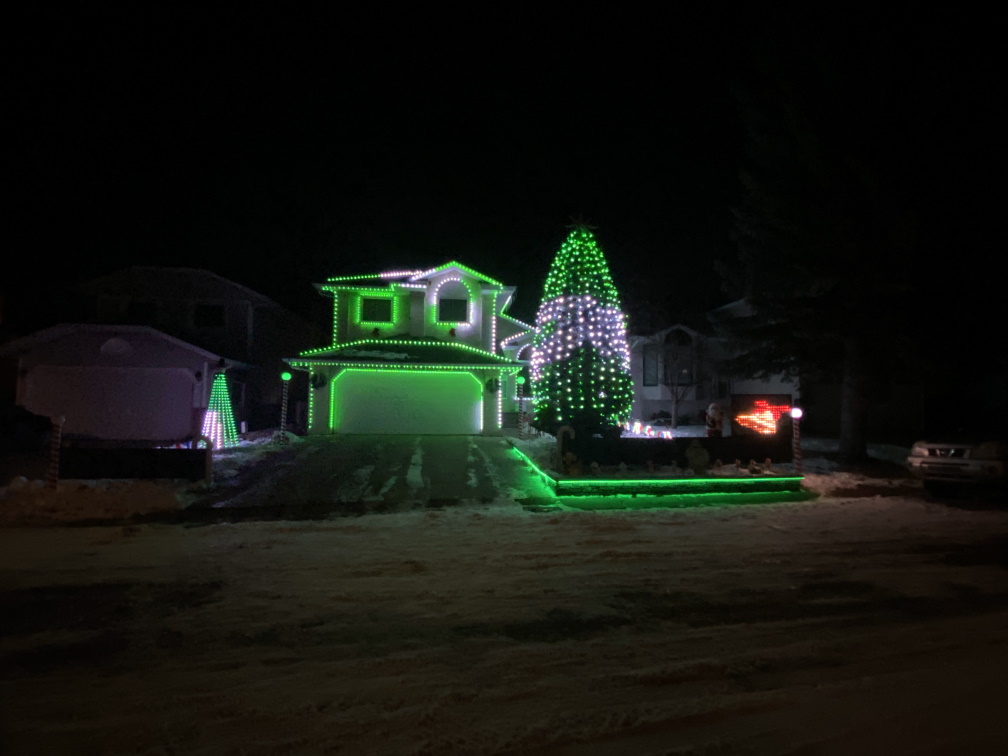
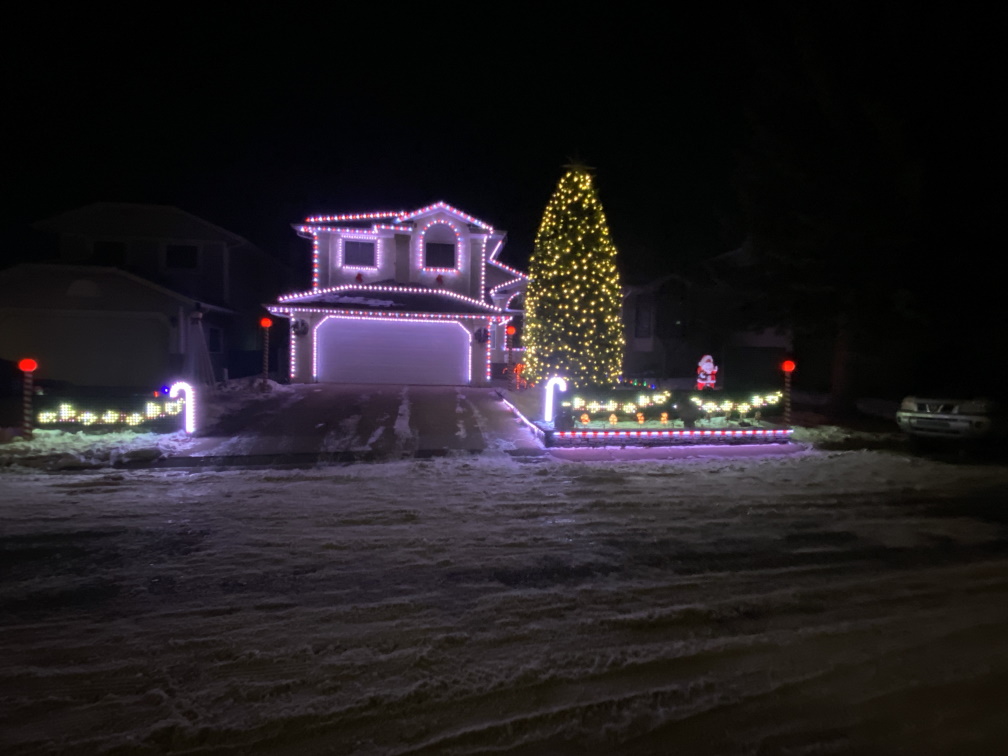
After getting the North Poles set up, I put out the mini trees and the pathway candy canes then packed it in for the night. After dinner I set up a quick show to do some testing and verify everything works, all the pieces that are installed look great, the things that were causing me great anxiety; multi network setup, underground network cables, DMX devices all worked as expected. My anxiety is down significantly and I see a good path to completion.
First Tests:
One final technical task for me to take on is an audio upgrade. My wireless speaker connects to one of my neighbors TVs when it is not connected to an audio input. This has been marginally annoying in the past as once I had the transmitter hooked up to me PC it held the connection, this year for some reason that is no longer working. I decided to upgrade to a Bluetooth speaker and a low latency Bluetooth transmitter. Hopefully this will provide better quality and more reliable audio. I ordered a 1Mii long range transmitter and a Monster Adventurer Force speaker. Hopefully this all works. I also upgraded my FM transmitter to one from EDM Electronics, I was looking for a little more range to be able to hear it all the way around my crescent and to add RDS capabilities. I need to do a little experimenting with Antennas, transmitter placement and power settings but so far the sound quality is excellent. I also need to get the RDS functionality figured out but that is not a key item for day one.
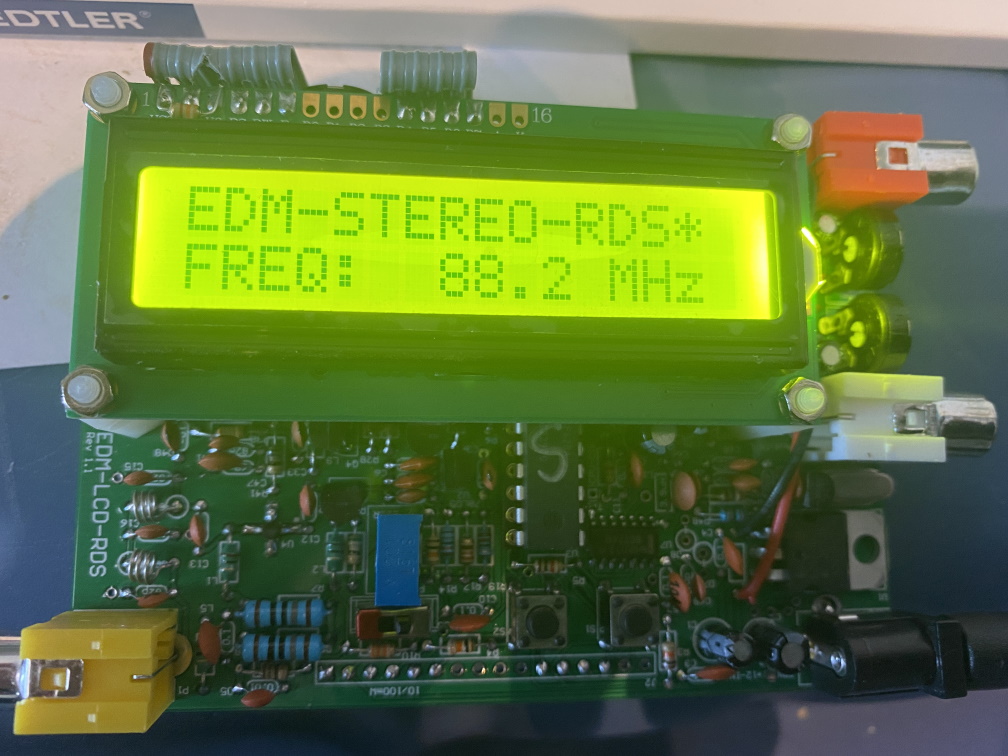
Assembling EDS FM Transmitter 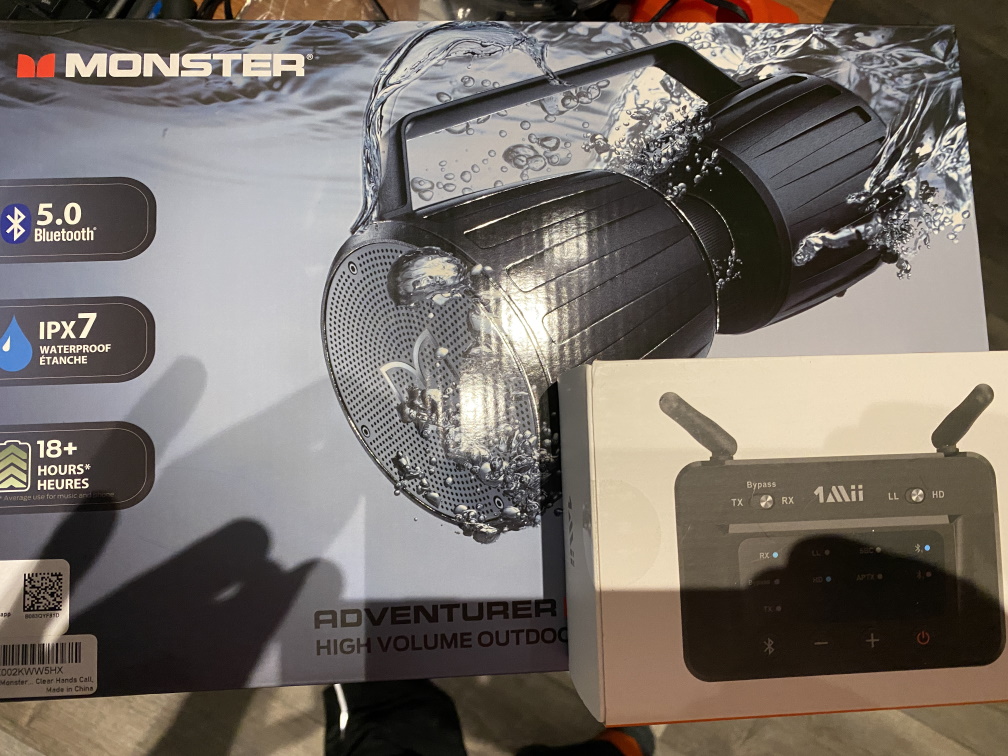
Speaker and Bluetooth Upgrade 
Testing out new FM transmitter
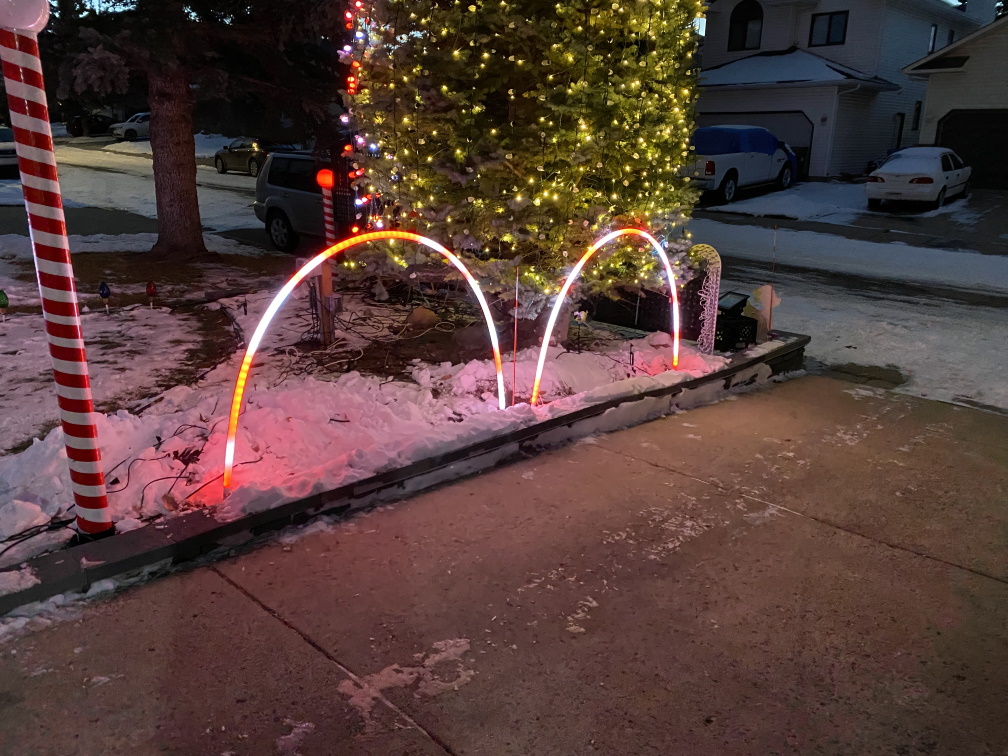
Tonight I also managed to get the arches installed. this required a Home Depot run as the 8 inch spikes I had bought to secure it wouldn’t with through the base (so Close) and I couldn’t drill them out without disassembling the Arches. So some 6 inch spikes were in order.

The final piece of the display is the fundraising we support through people visiting. Last year we supported the Warm Feet for the street through the mustard seed. This year we decided to support the local food bank as we thought it would be in very high demand due to the high rate of job loss in Calgary this year. If you come to see the display please bring some non perishable food items or use the online donation form to donate to our food drive.

I’m pretty happy with the progress I have made this week and I’m quite confident we will successfully light up on the 28th as Planned, with just a few basic items left to complete.
Things left to complete
| Group | Prop |
| Yard | Santa & Elves Ground Stakes |
| Yard | Ground Accents |
| Yard | Elves Cutout + Flood |
| Yard | Left Candle |
| Yard | Right Candle |
| Yard | Santa Cutout + Flood |
| Fence | Side Fence Banner |
| Fence | Side Fence Flood |
| Fence | Side Gate Banner |
| Fence | Side Gate Flood |
| House | Garage Door Cover |
The kids thought it would be fun it I dressed up as an elf and became part of the display, I think they just want me out of the house, so they bought me an elf costume.

