

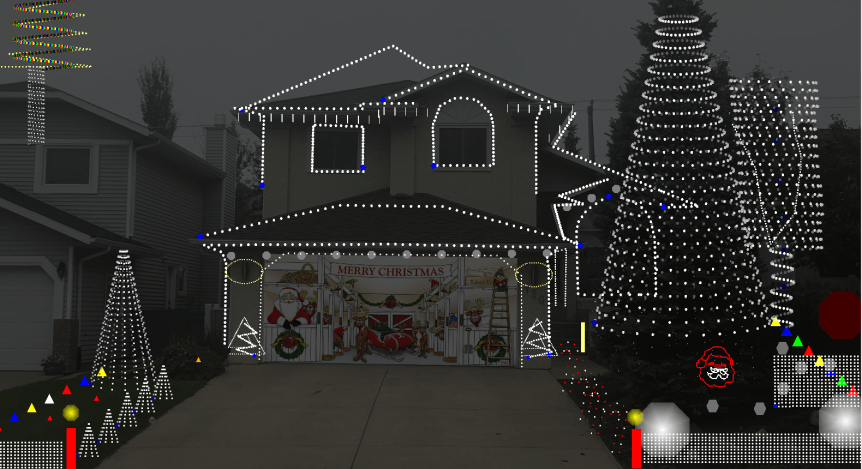
Last year I built a matrix with some extra pixel nodes I had. I enjoyed the pixel screen so much I decided to build matrix borders across the front of my property (and maybe sneaking a little over onto the neighbors). I will be adding 2 matrix, one each side of the driveway made up of three sections. Each section will be 50 X 10 pixels, 2 two sections to the right of the driveway and one section to the left.
I decided to use last weekend for construction of the panels as I was home alone with one child so I needed to keep his focus while still getting stuff done on the build, construction seemed like a good option. There are a couple thing about construction projects; 1. I’m not very good at them and 2. I’m a bit of a perfectionist, which can make for very frustrating times if things don’t align or go together the way I expect, which they usually don’t because I’m not too good at it.
I initially planned on using the same 2 inch spaced PixelNode Net I used for last years matrix, but when ordering I noticed the 1.9 inch mesh could hold 50 pixels vs 48 in the 2 inch variety. This would mean I wouldn’t need to join 2 sections, less fettling = less frustration. This would also mean the panels end up a little shorter which is a good thing too.
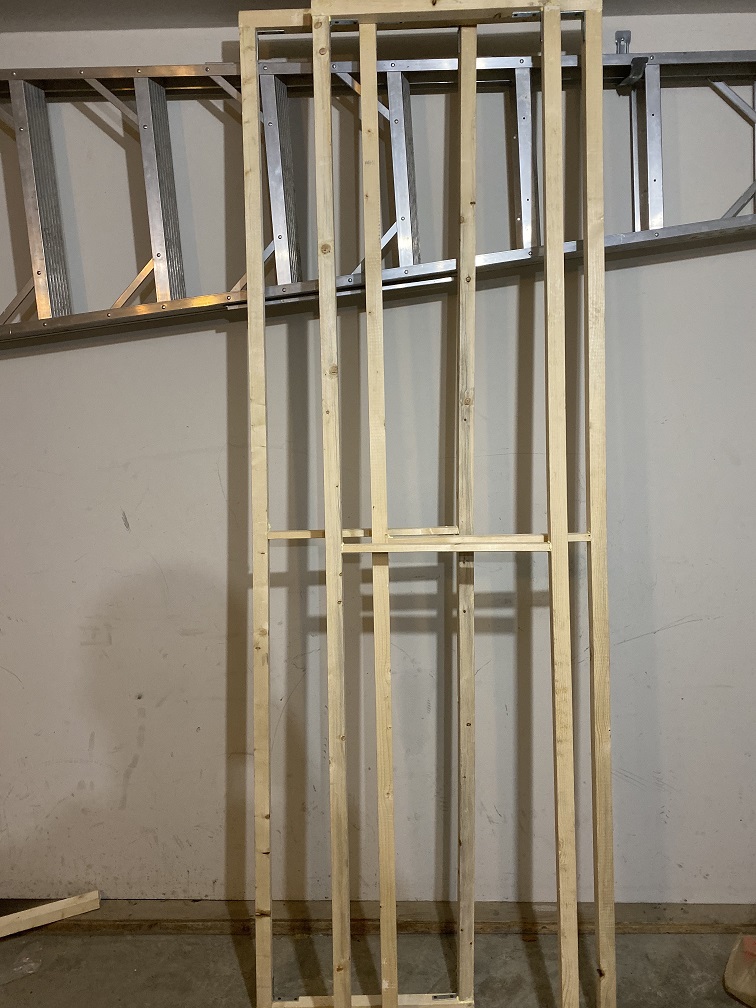
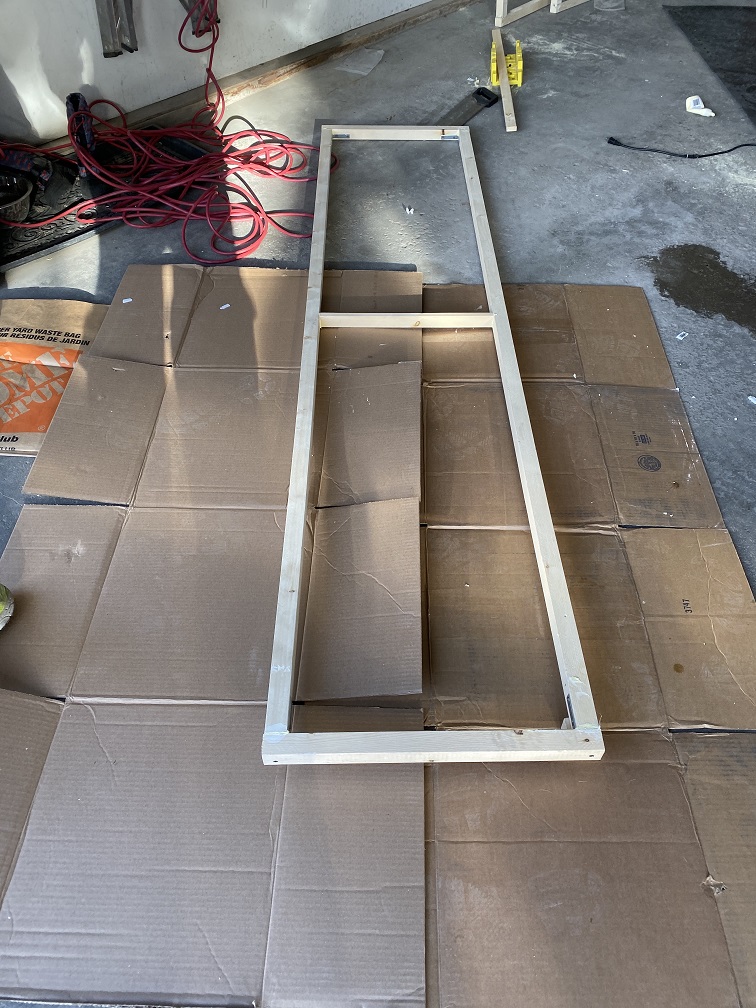
I’d ordered the PixelNode Net a couple of weeks ago and it came in 2 days, so it was time for a trip to the hardware store. I was following the same framing design as last year with 2×2’s for the frame with 90 degree braces on the corners to join the sections.
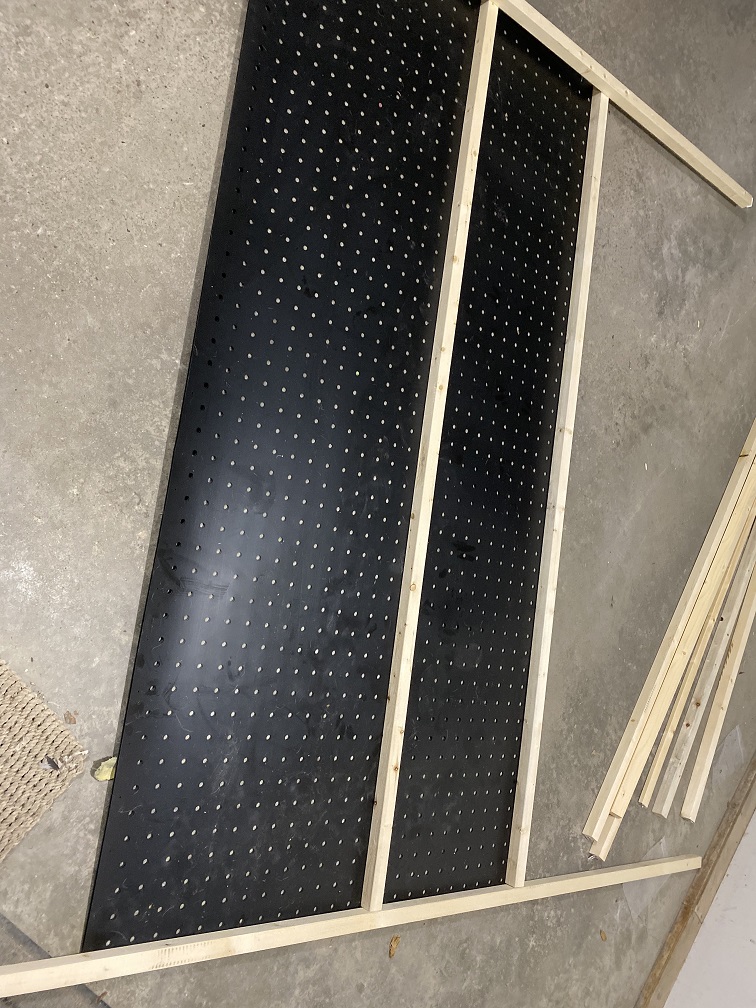

After getting all the supplies it was time to measure up the mesh and decide how long each edge needed to be.
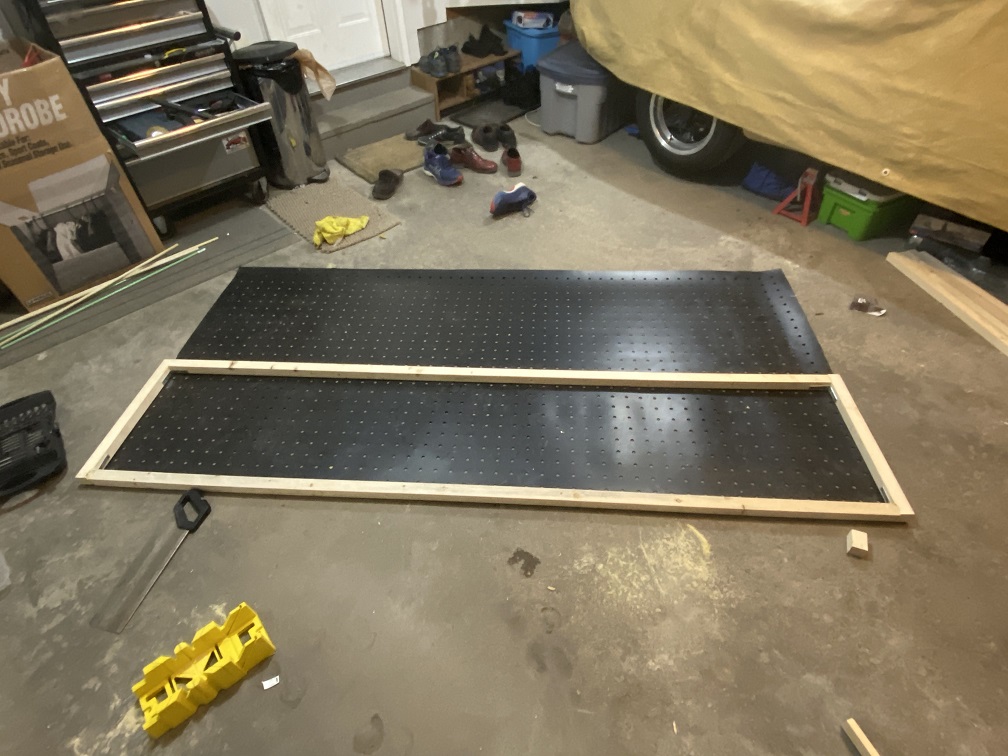
Once all laid out, I had a little helper to “speed things up”. After building the first frame I decide to add a 2×1 brace in the middle to make sure the frame didn’t spread and rip the mesh as the upper cross member would be bearing all the weight.

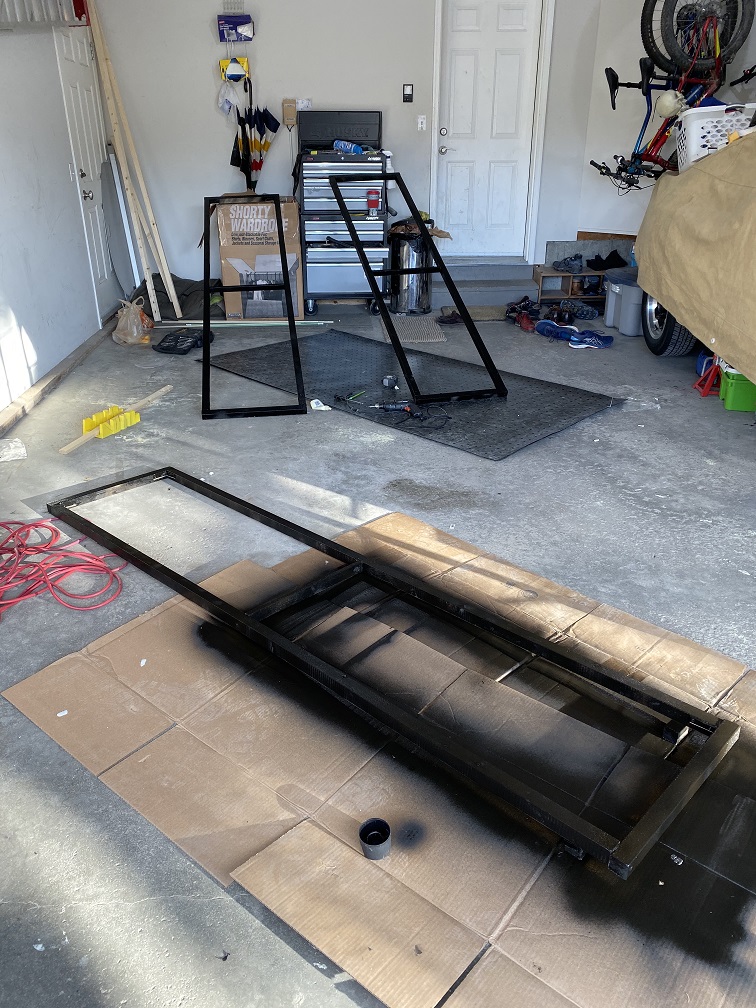
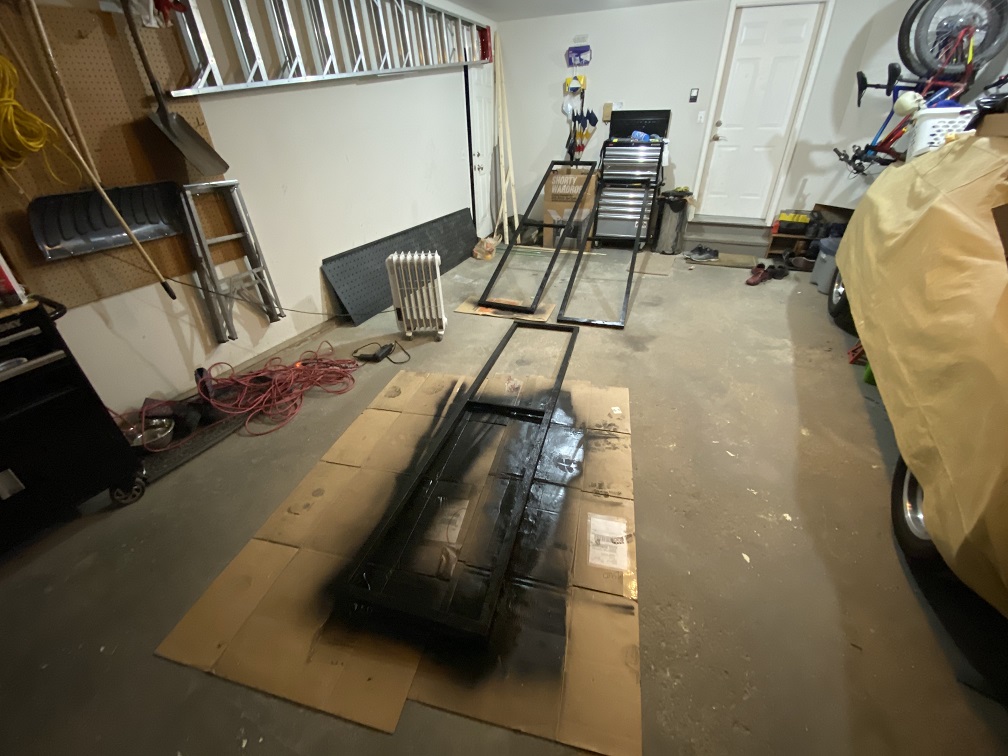
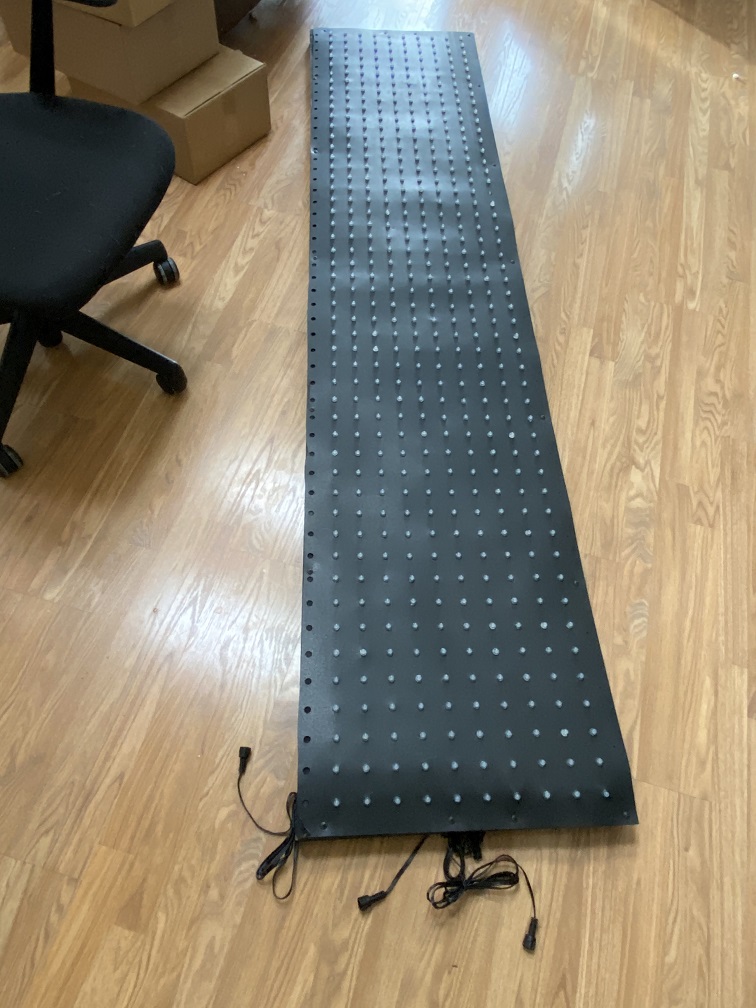
Once all the frames were built it was time to paint them all flat black to blend in with the mesh and into the night when when the show is on.
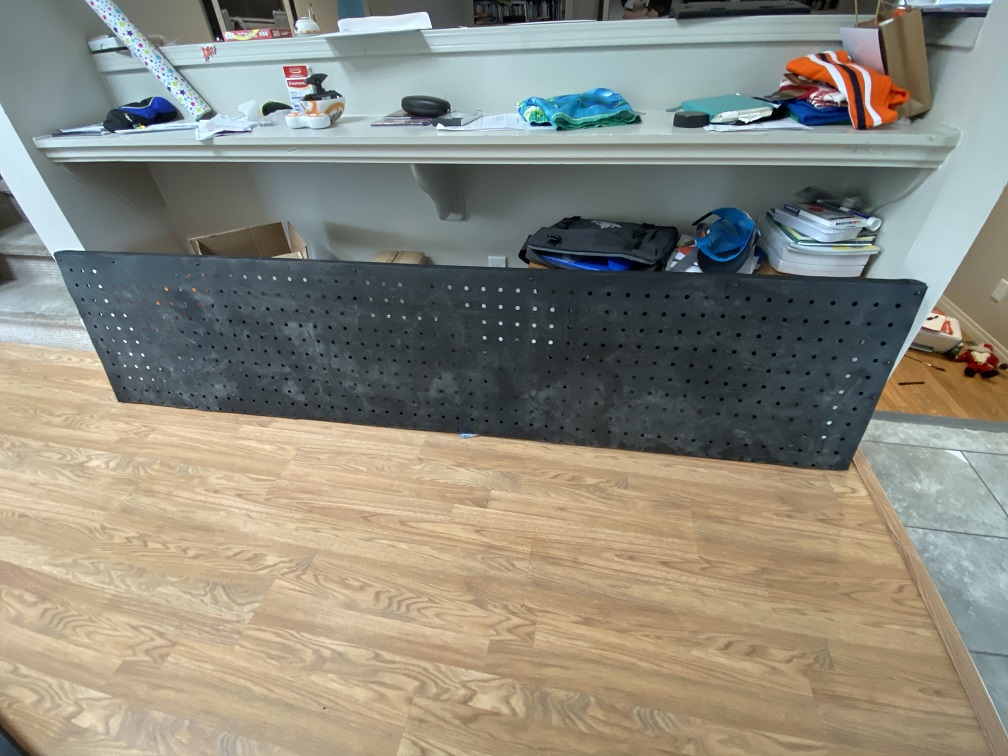
After the paint is dry cutting and attaching the Pixel mesh is the next step, this is when the imperfections of the build show up, if the frame isn’t square the mesh looks a little sloppy (not that anyone would ever notice when it has 500 pixel nodes on it) and that drives me nuts.
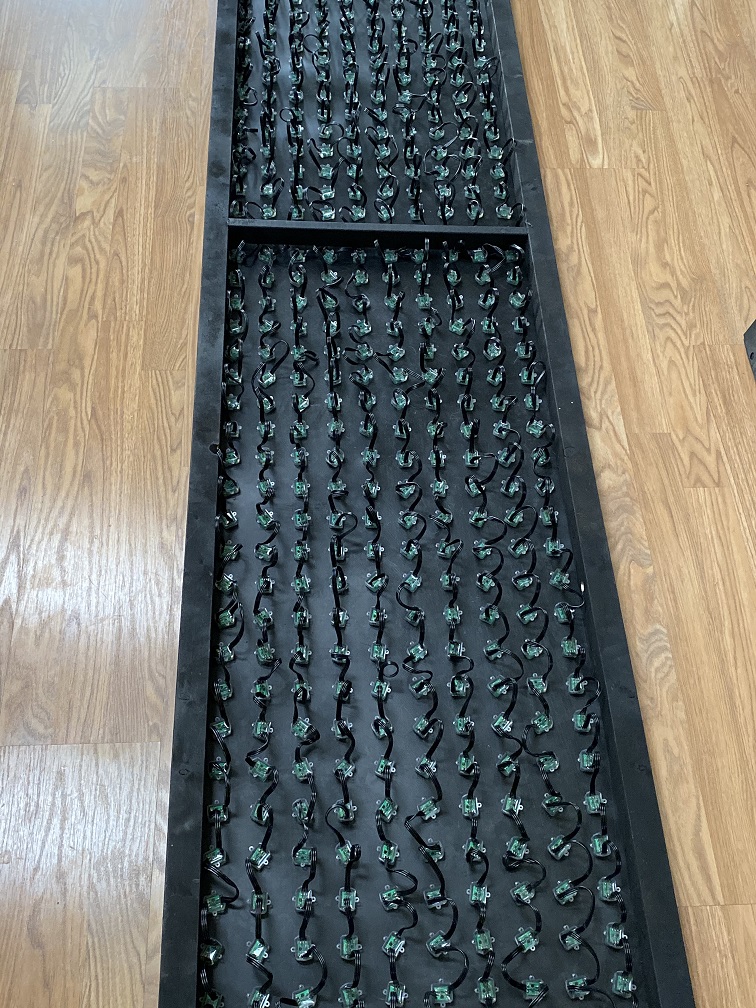
The final step in construction in the adding of the lights, the cross brace I added made this even more tedious than usual as I had the thread half of each string between the mesh and the board. But overall the install of the lights went pretty quickly and they popped in much easier than last year in the 2 inch mesh.
After getting the first panel finished it is time for the fun part, testing. Surprisingly everything works as expected the first time, my little helper was very excited with the results.
Testing the lights
For the mounting I decided to try a new approach with 2 inch rebar, I bought 2 3 foot sections and drilled a 2 inch hole through the bottom cross section and 1 inch deep into the top, this looks like it will work like a charm (If it does I will do the same on last years screen with 5 foot rebar to mount it over the border panels). I’m really looking forward to getting these in the yard.
